
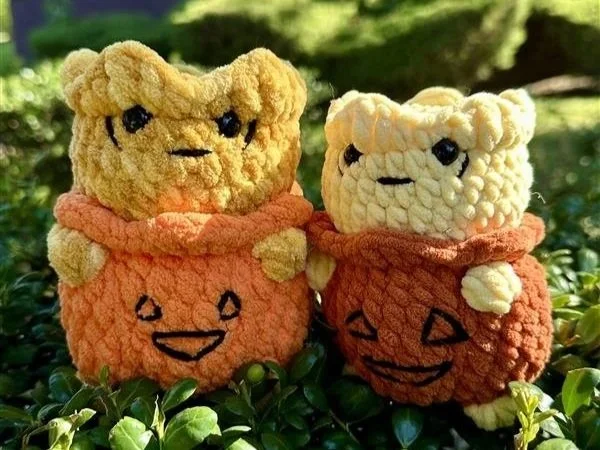
Pumpkin Togepi Crochet Pattern
Low Sew, Beginner Friendly, and Quick!
If you’re looking for a quick, festive, and fun Halloween amigurumi crochet pattern, this Pumpkin Togepi plush pattern is the perfect choice! This beginner-friendly amigurumi is perfect for Pokémon fans, Halloween lovers, and anyone who enjoys making cute and festive plushies. Designed to be low sew and easy to follow, this pattern is great for crocheters of all skill levels.
Please note: This pattern is intended for personal use only. Reselling, altering, rewriting, copying, or translating this pattern in any format is strictly prohibited. You may sell the finished product that you’ve made using this pattern, but please give credit back to me for the pattern (@crochetbyapryl). I appreciate your cooperation in this matter.
Want an ad-free PDF of this pattern with more photos? Shop here.
Note: This pattern may contain affiliate links, meaning I get a commission if you decide to make a purchase through my links, at no cost to you
Materials
Crochet hook (I used Clover 5mm)
Yarn (I used Posh Purl in Orange, Yellow, and Black)
A great alternative is Parfait Chunky from Premier
Stitch marker
Stuffing (I used Poly-Fil)
Scissors
Safety eyes (I used 16mm)
Black Acrylic Yarn or Felt for details
Abbreviations
This pattern is written in US Terms and worked in continuous rounds.
MR - magic ring
sc - single crochet
inc - increase
dec - invisible decrease
cc - color change
sl st - slip stitch
FO - fasten off
hdc - half double crochet
dc - double crochet
FLO - front loop only
BLO - back loop only
Let’s Begin!

Start in orange, worked from the bottom up
R1: 6sc in MR (6)
R2: inc around (12)
R3: (1sc, inc) x 6 (18)
R4: (2sc, inc) x 6 (24)
R5: (1sc, inc, 2sc) x 6 (30)
R6: 10sc, cc to yellow BBL, cc to orange 8sc, cc to yellow BBL, cc to orange 10sc (30)
R7 - R11: hdc around (30) (5 rounds)
R12: 12sc, cc to yellow BBL, cc to orange 9sc, cc to yellow BBL, cc to orange 7sc (30)
Note: you may need to adjust the placement of the BBL in R12 to line up with the BBL in R6 due to tension
R13: sc around (30)
R14: (3sc, dec) x 6 (24)
R15: FLO (sc, [hdc, dc], [dc, hdc], sc) x 6 (36)
cc to yellow, fasten off/cut orange yarn
R16: in the leftover back loops from R14, sc around (24)
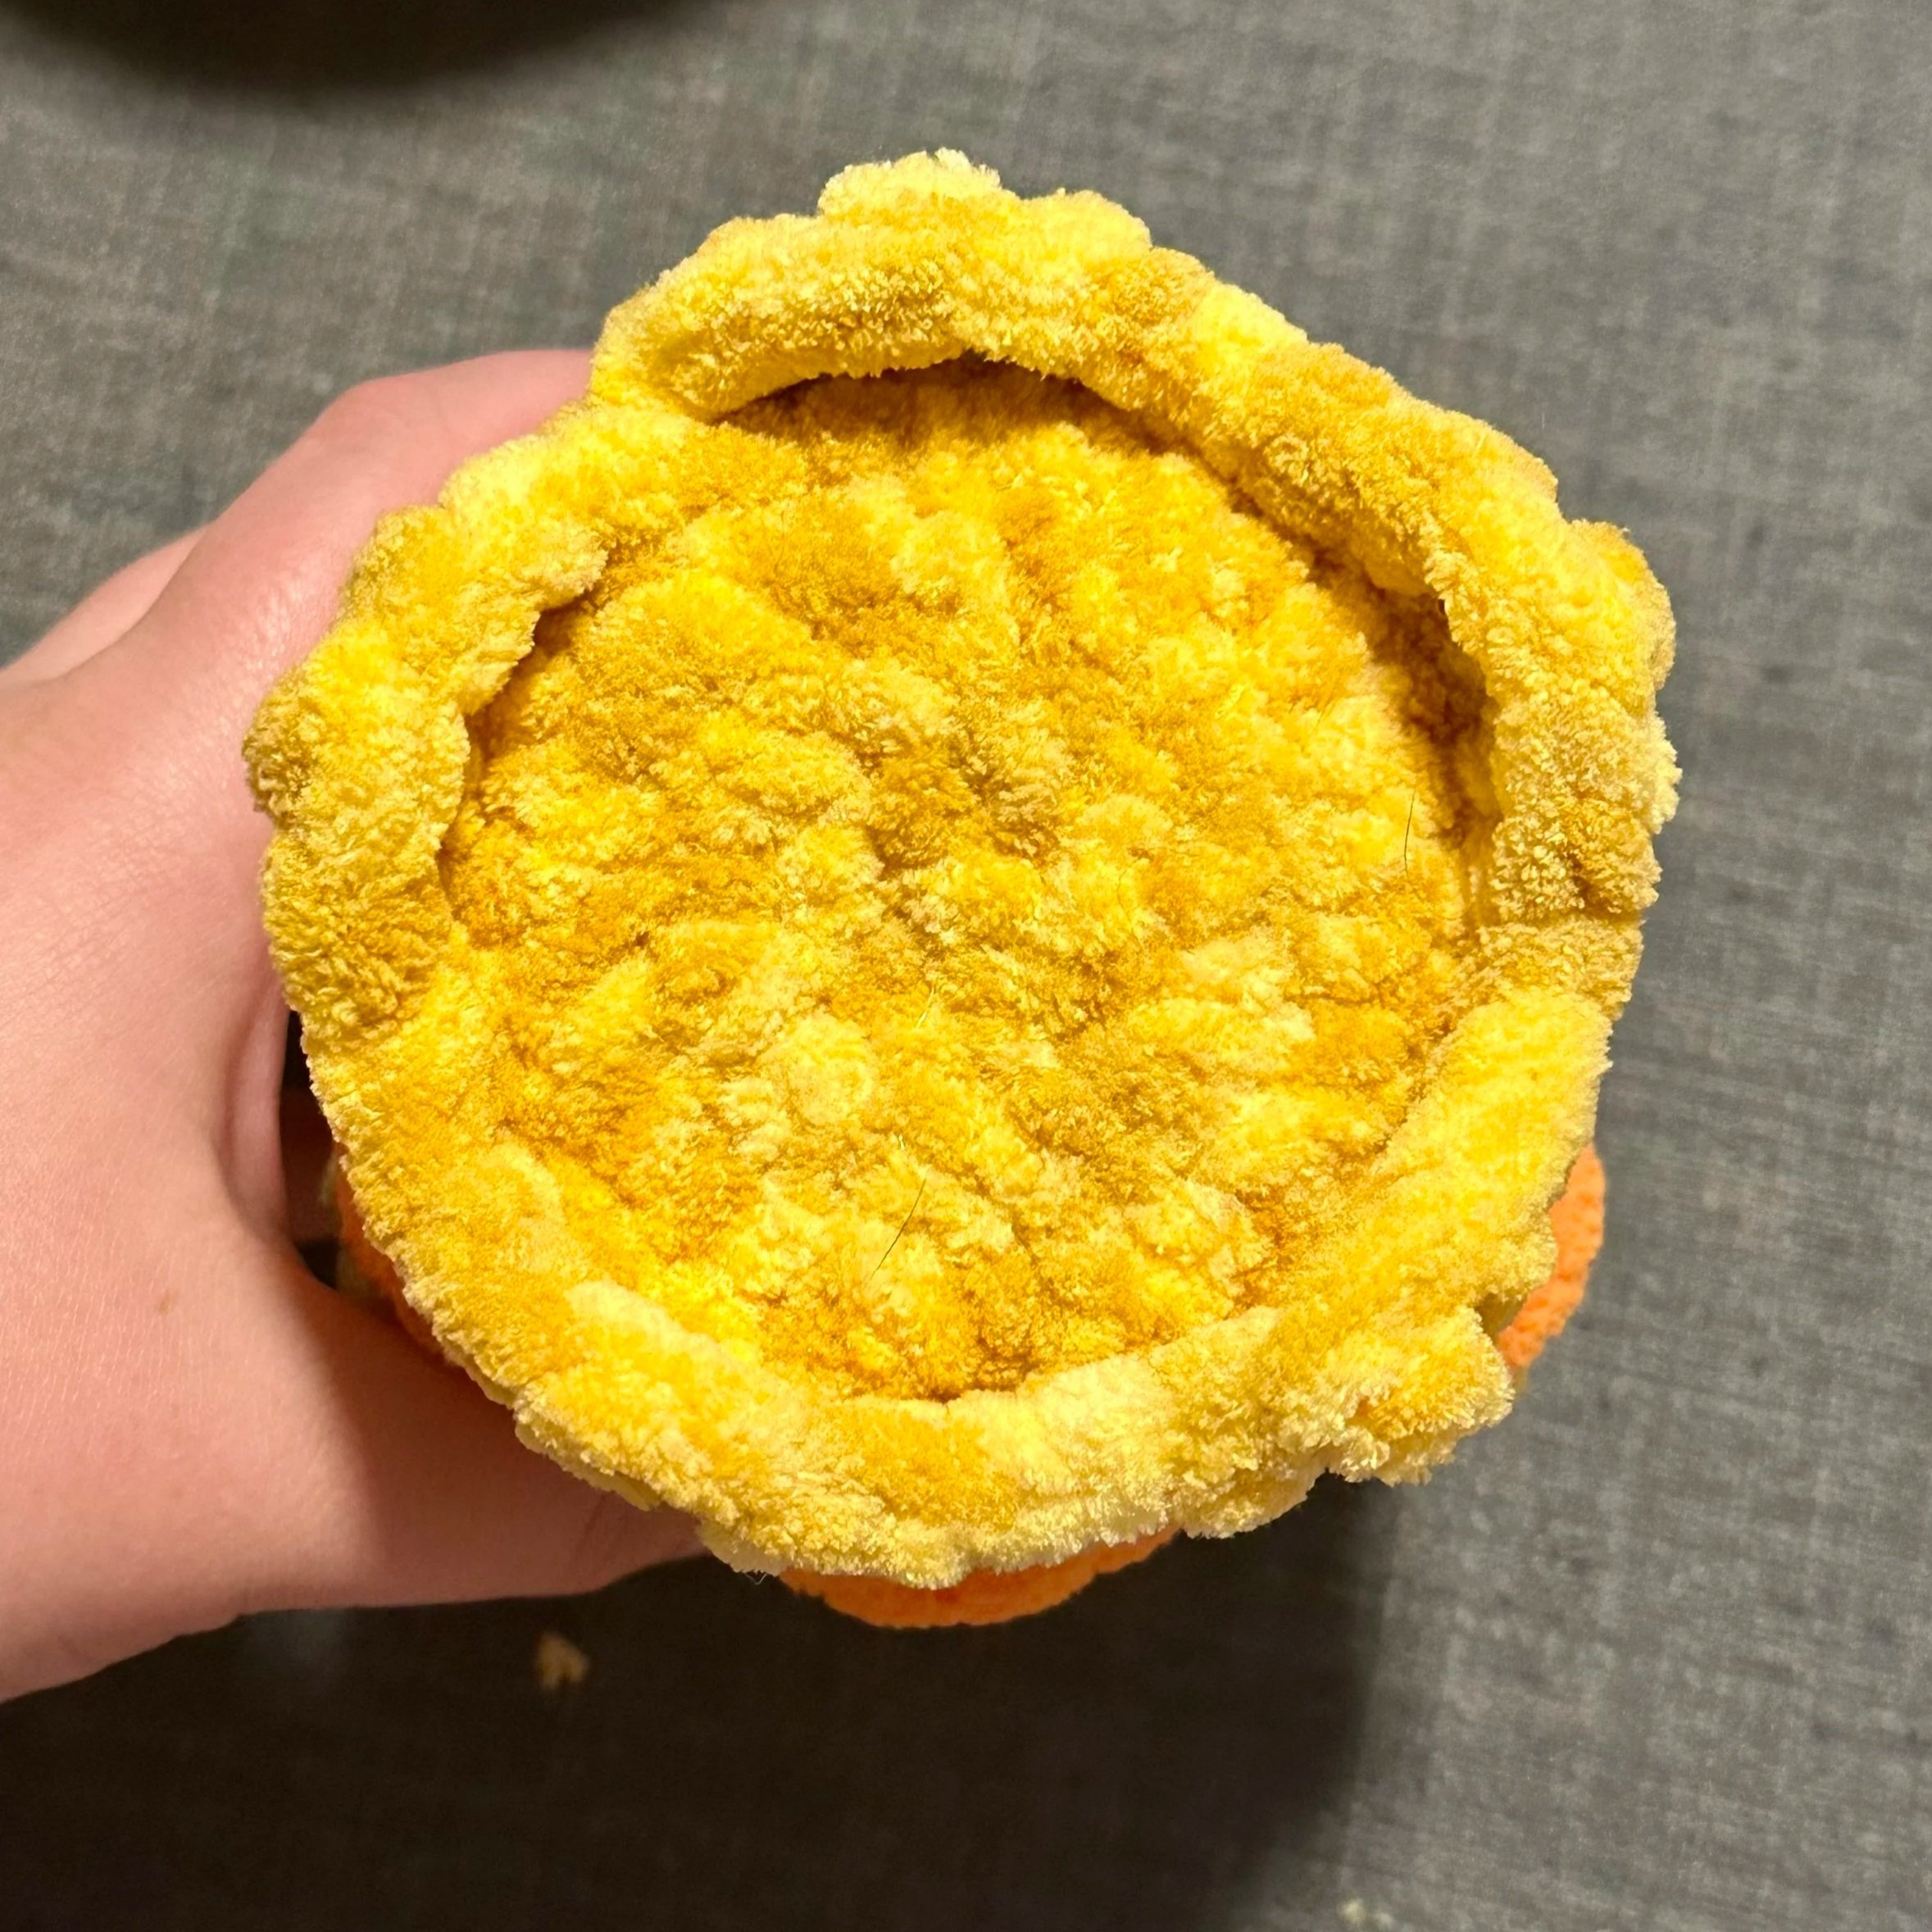
Stuff the body.
R17: (3sc, inc) x 6 (30)
R18 - R20: hdc around (30) (3 rounds)
R21: FLO (hdc, dc, trc, dc, hdc, sc) x 5 (30)
R22: in the leftover back loops from R21, sc around (30)
Insert safety eyes between R20 and R21, approximately 5 stitches apart. Make sure the eyes are aligned to be between the arms and legs.
R23: (3sc, dec) x 6 (24)
R24: dec around (12)
Stuff the head.
R25: dec around (6)
FO and sew the remaining hole closed.
Shaping the Pumpkin
Using an extra piece of orange yarn, insert your needle through the MR.
Thread out of a space in R14 (under the frills).
Insert your needle back into the MR.
Thread out of a different space in R14.
Pull tight to create one section of the pumpkin.
Repeat these steps as many times as you’d like to shape your pumpkin.
After the last section is shaped, thread out of a different space in R14. Insert your needle 1 stitch over from where you came out, then pull through the MR so both ends of your yarn are coming out of the MR.
Pull tight again to finish shaping the pumpkin.
Tie yarn ends together, and hide inside the body.
Finishing Touches
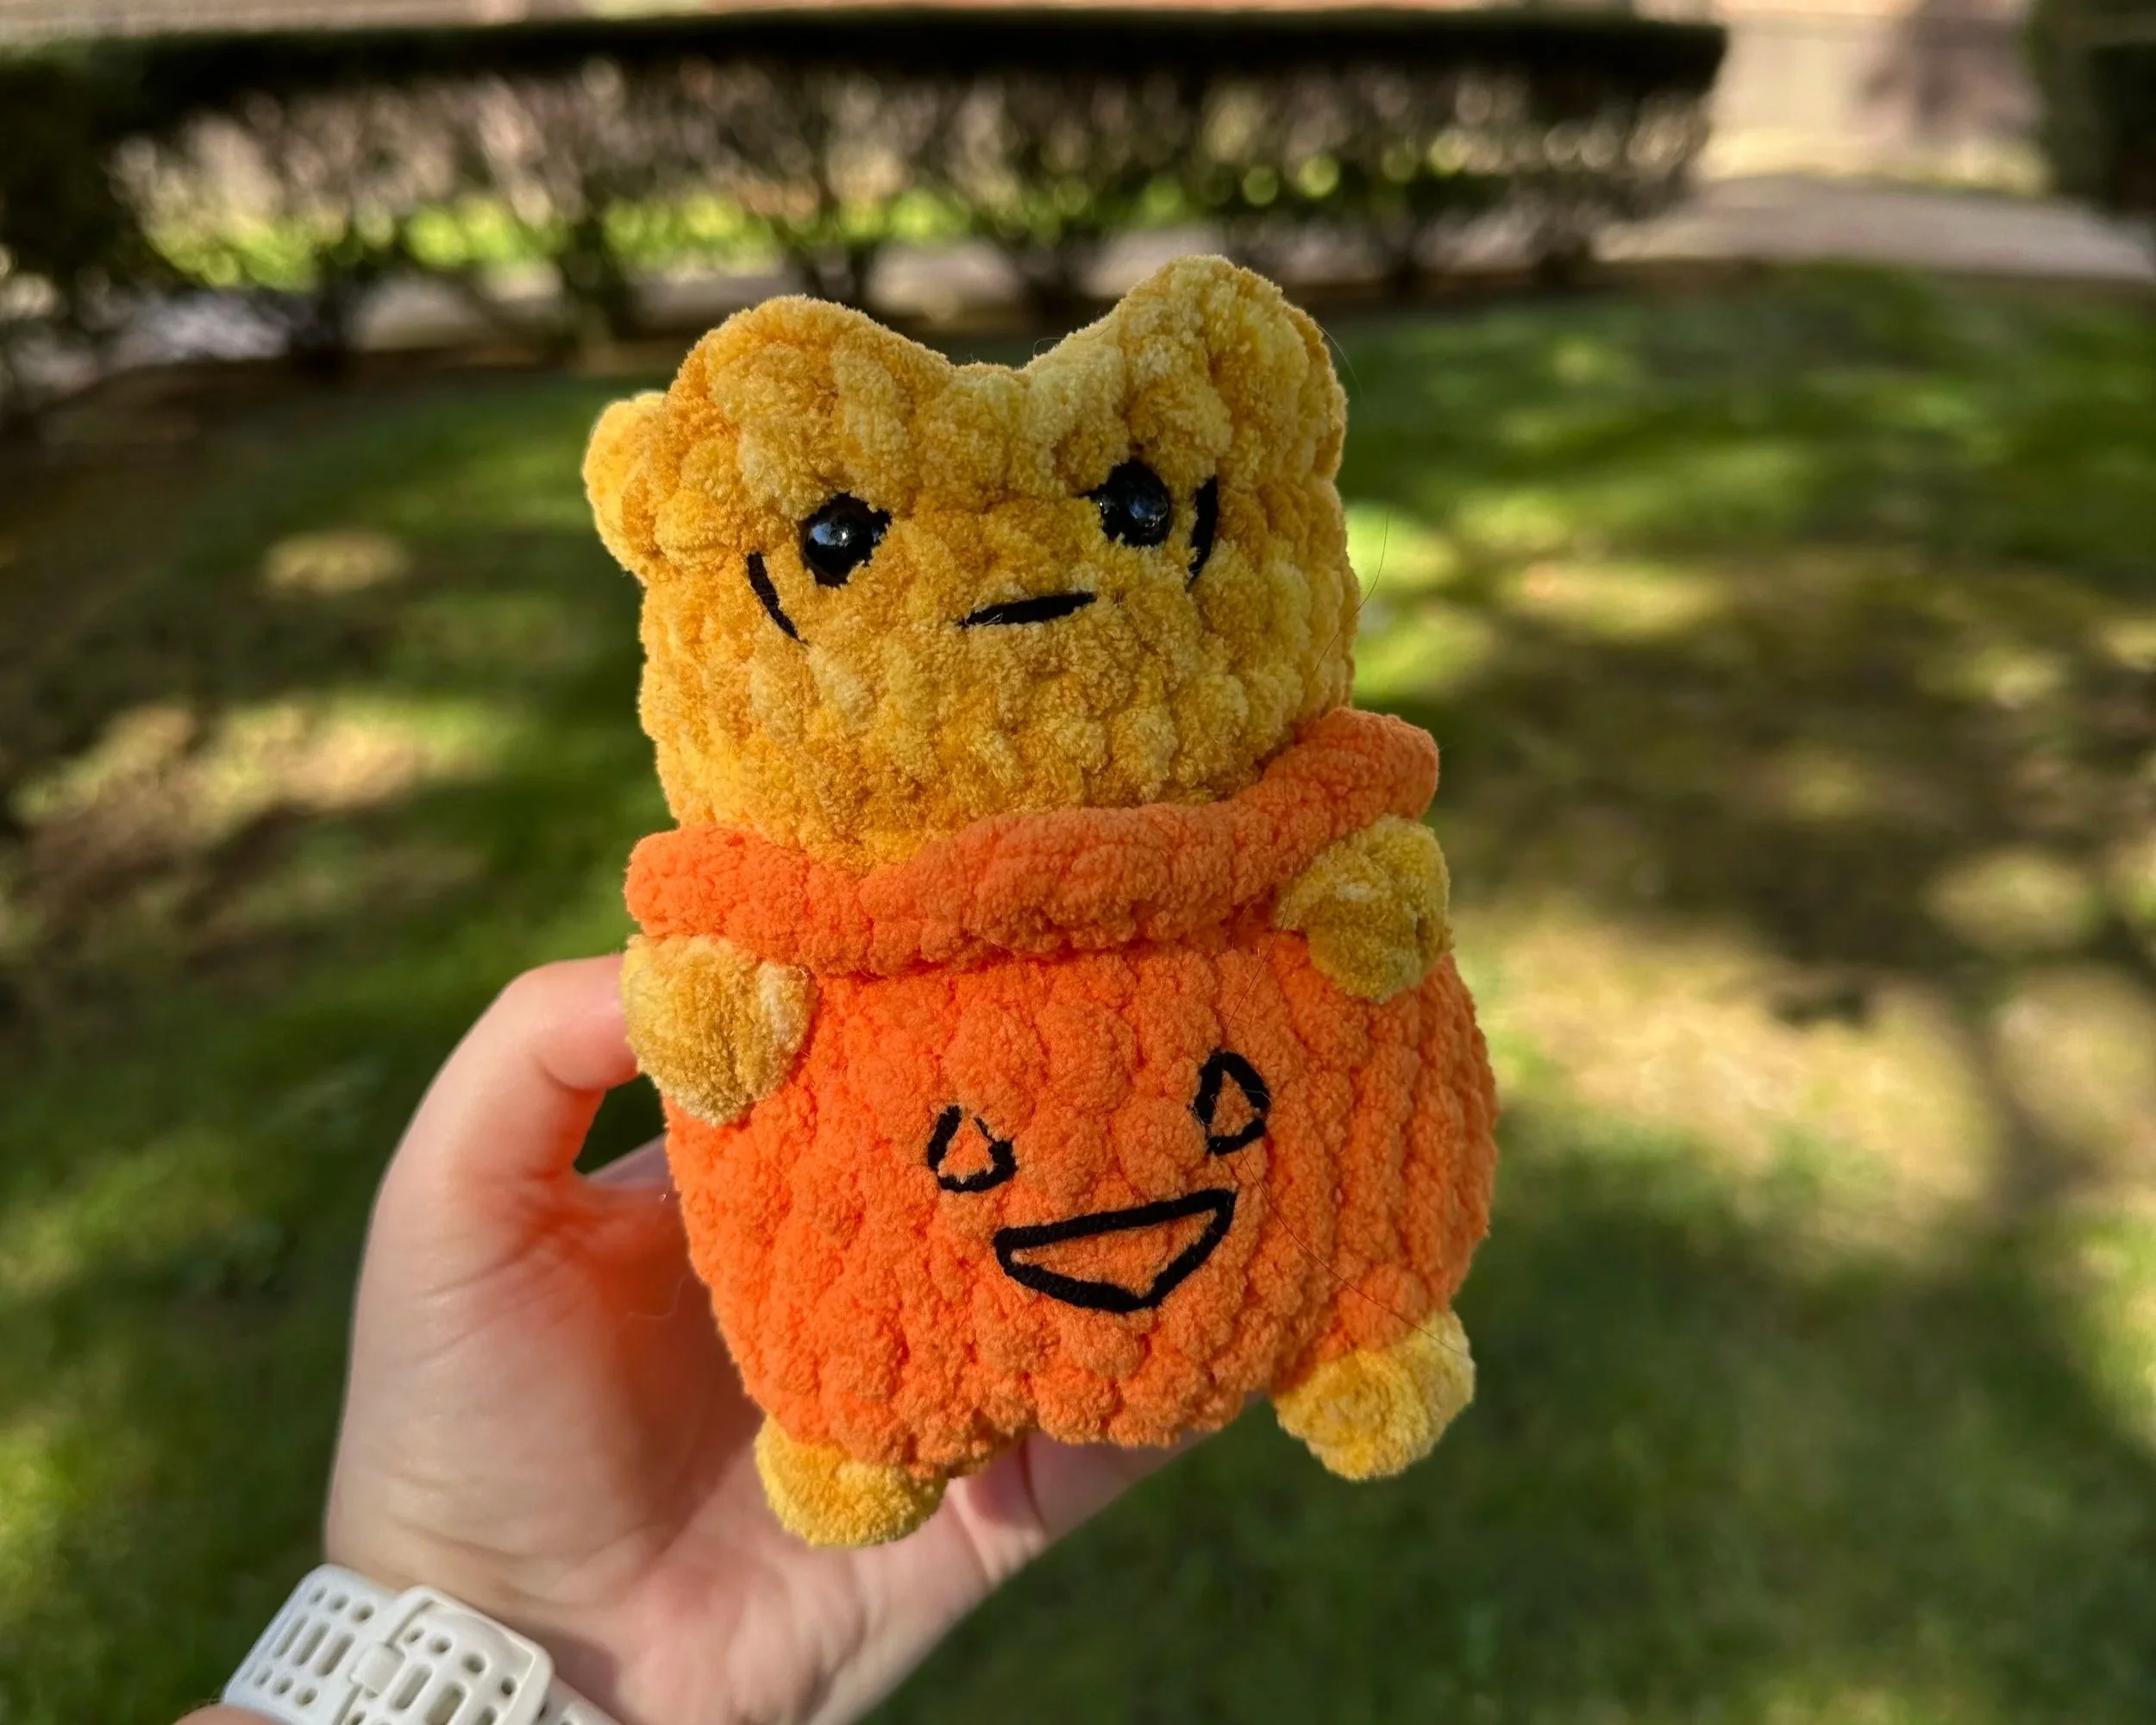
Add black curves around the eyes and embroider a mouth if you wish.
You may need to straighten the head spikes by pulling up on the treble crochets.
Use black yarn to embroider a Jack-o-lantern face on the pumpkin.
Your Pumpkin Togepi is done!
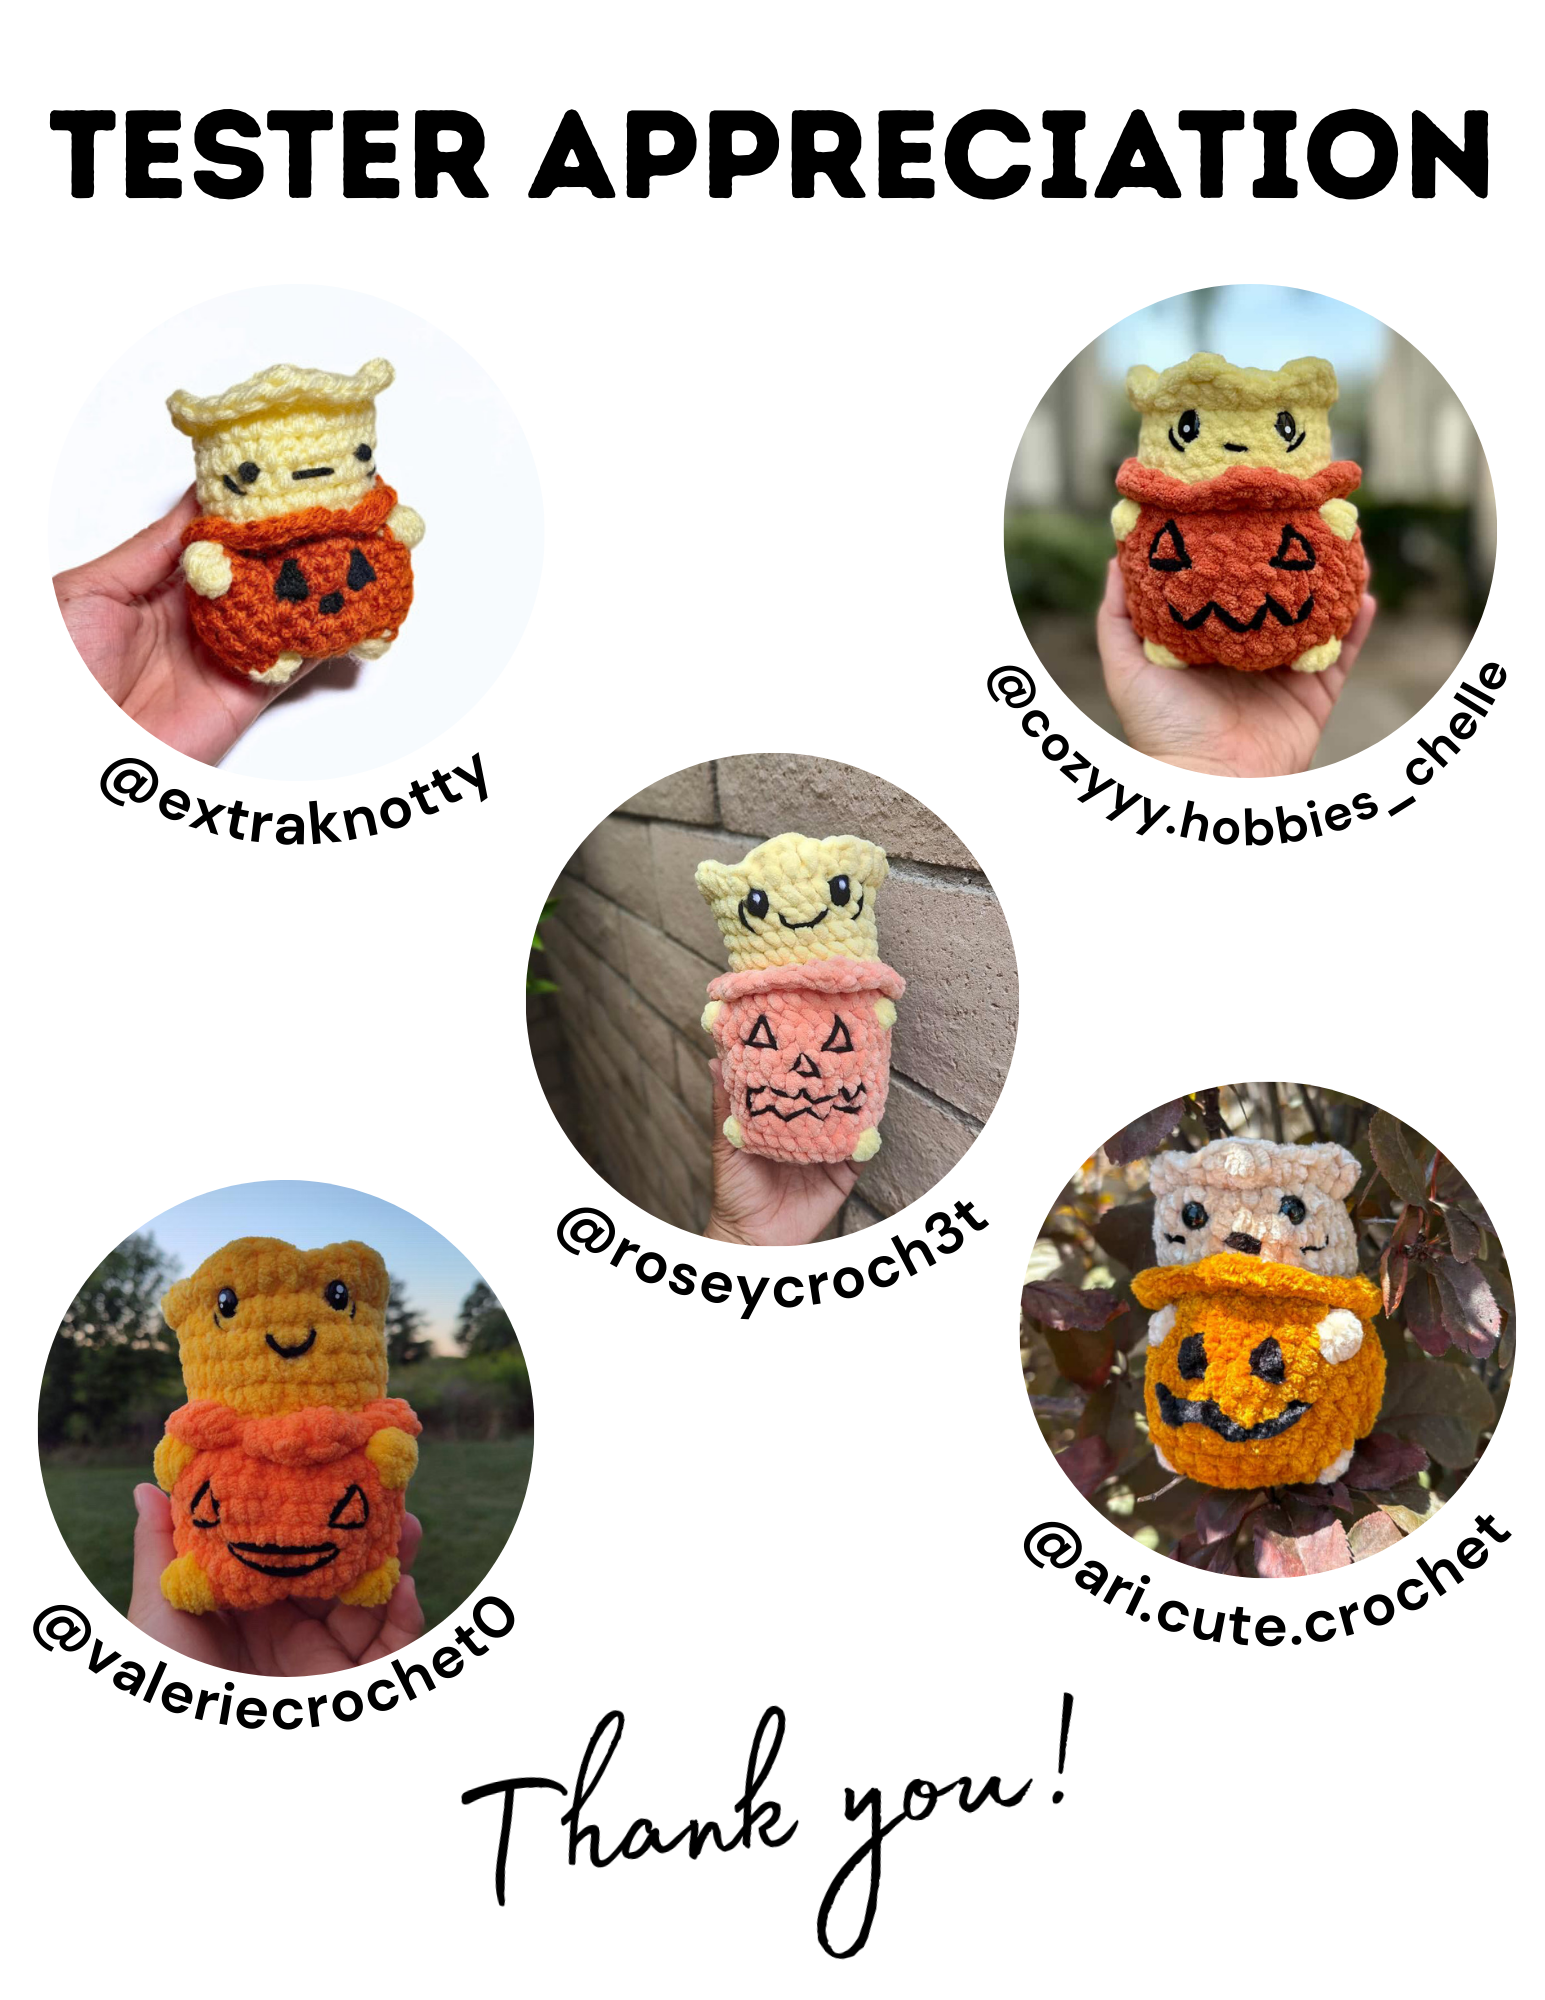
Thank you for your support of my pattern and for making your own Pumpkin Togepi. I would love to see your creations if you share on Instagram - tag me @crochetbyapryl! In addition, check out my tester’s work and give them a follow!