
Cloud Bird (Not Swablu) Crochet Pattern
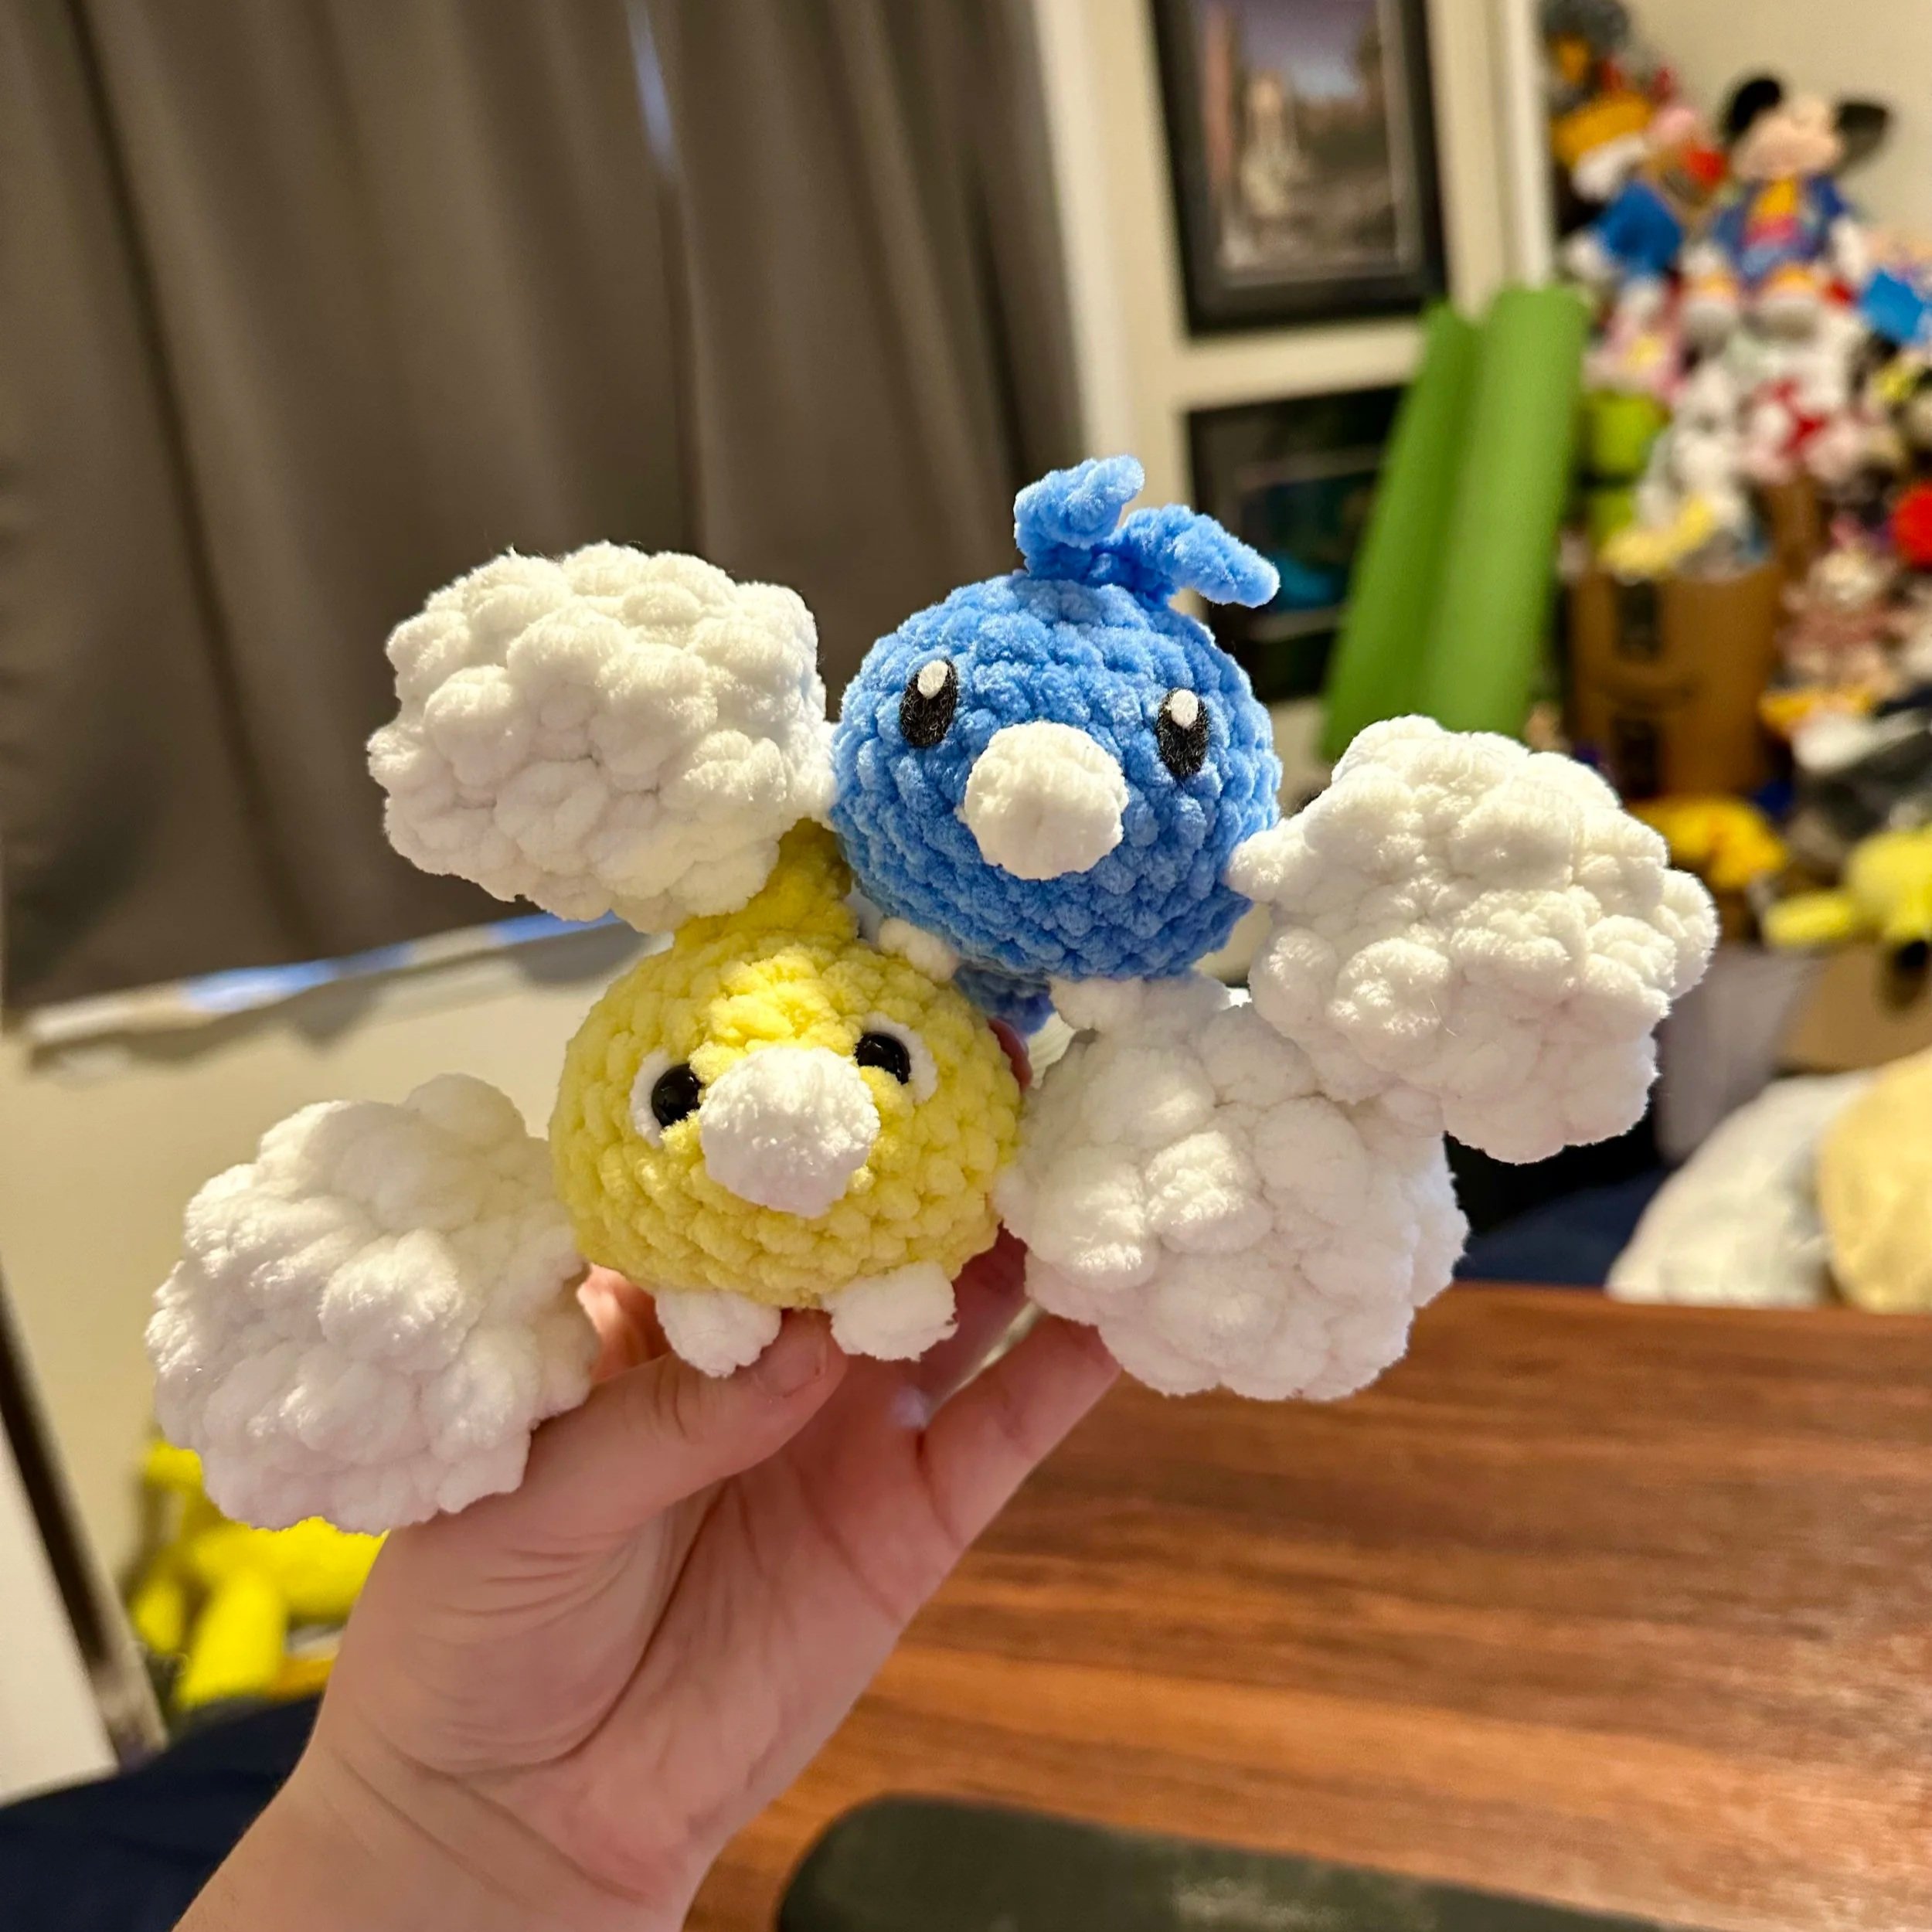
A little birdy told me you’re looking for a cute Cloud Bird crochet pattern! You’re in luck - this one is free, low sew, and works up quickly.
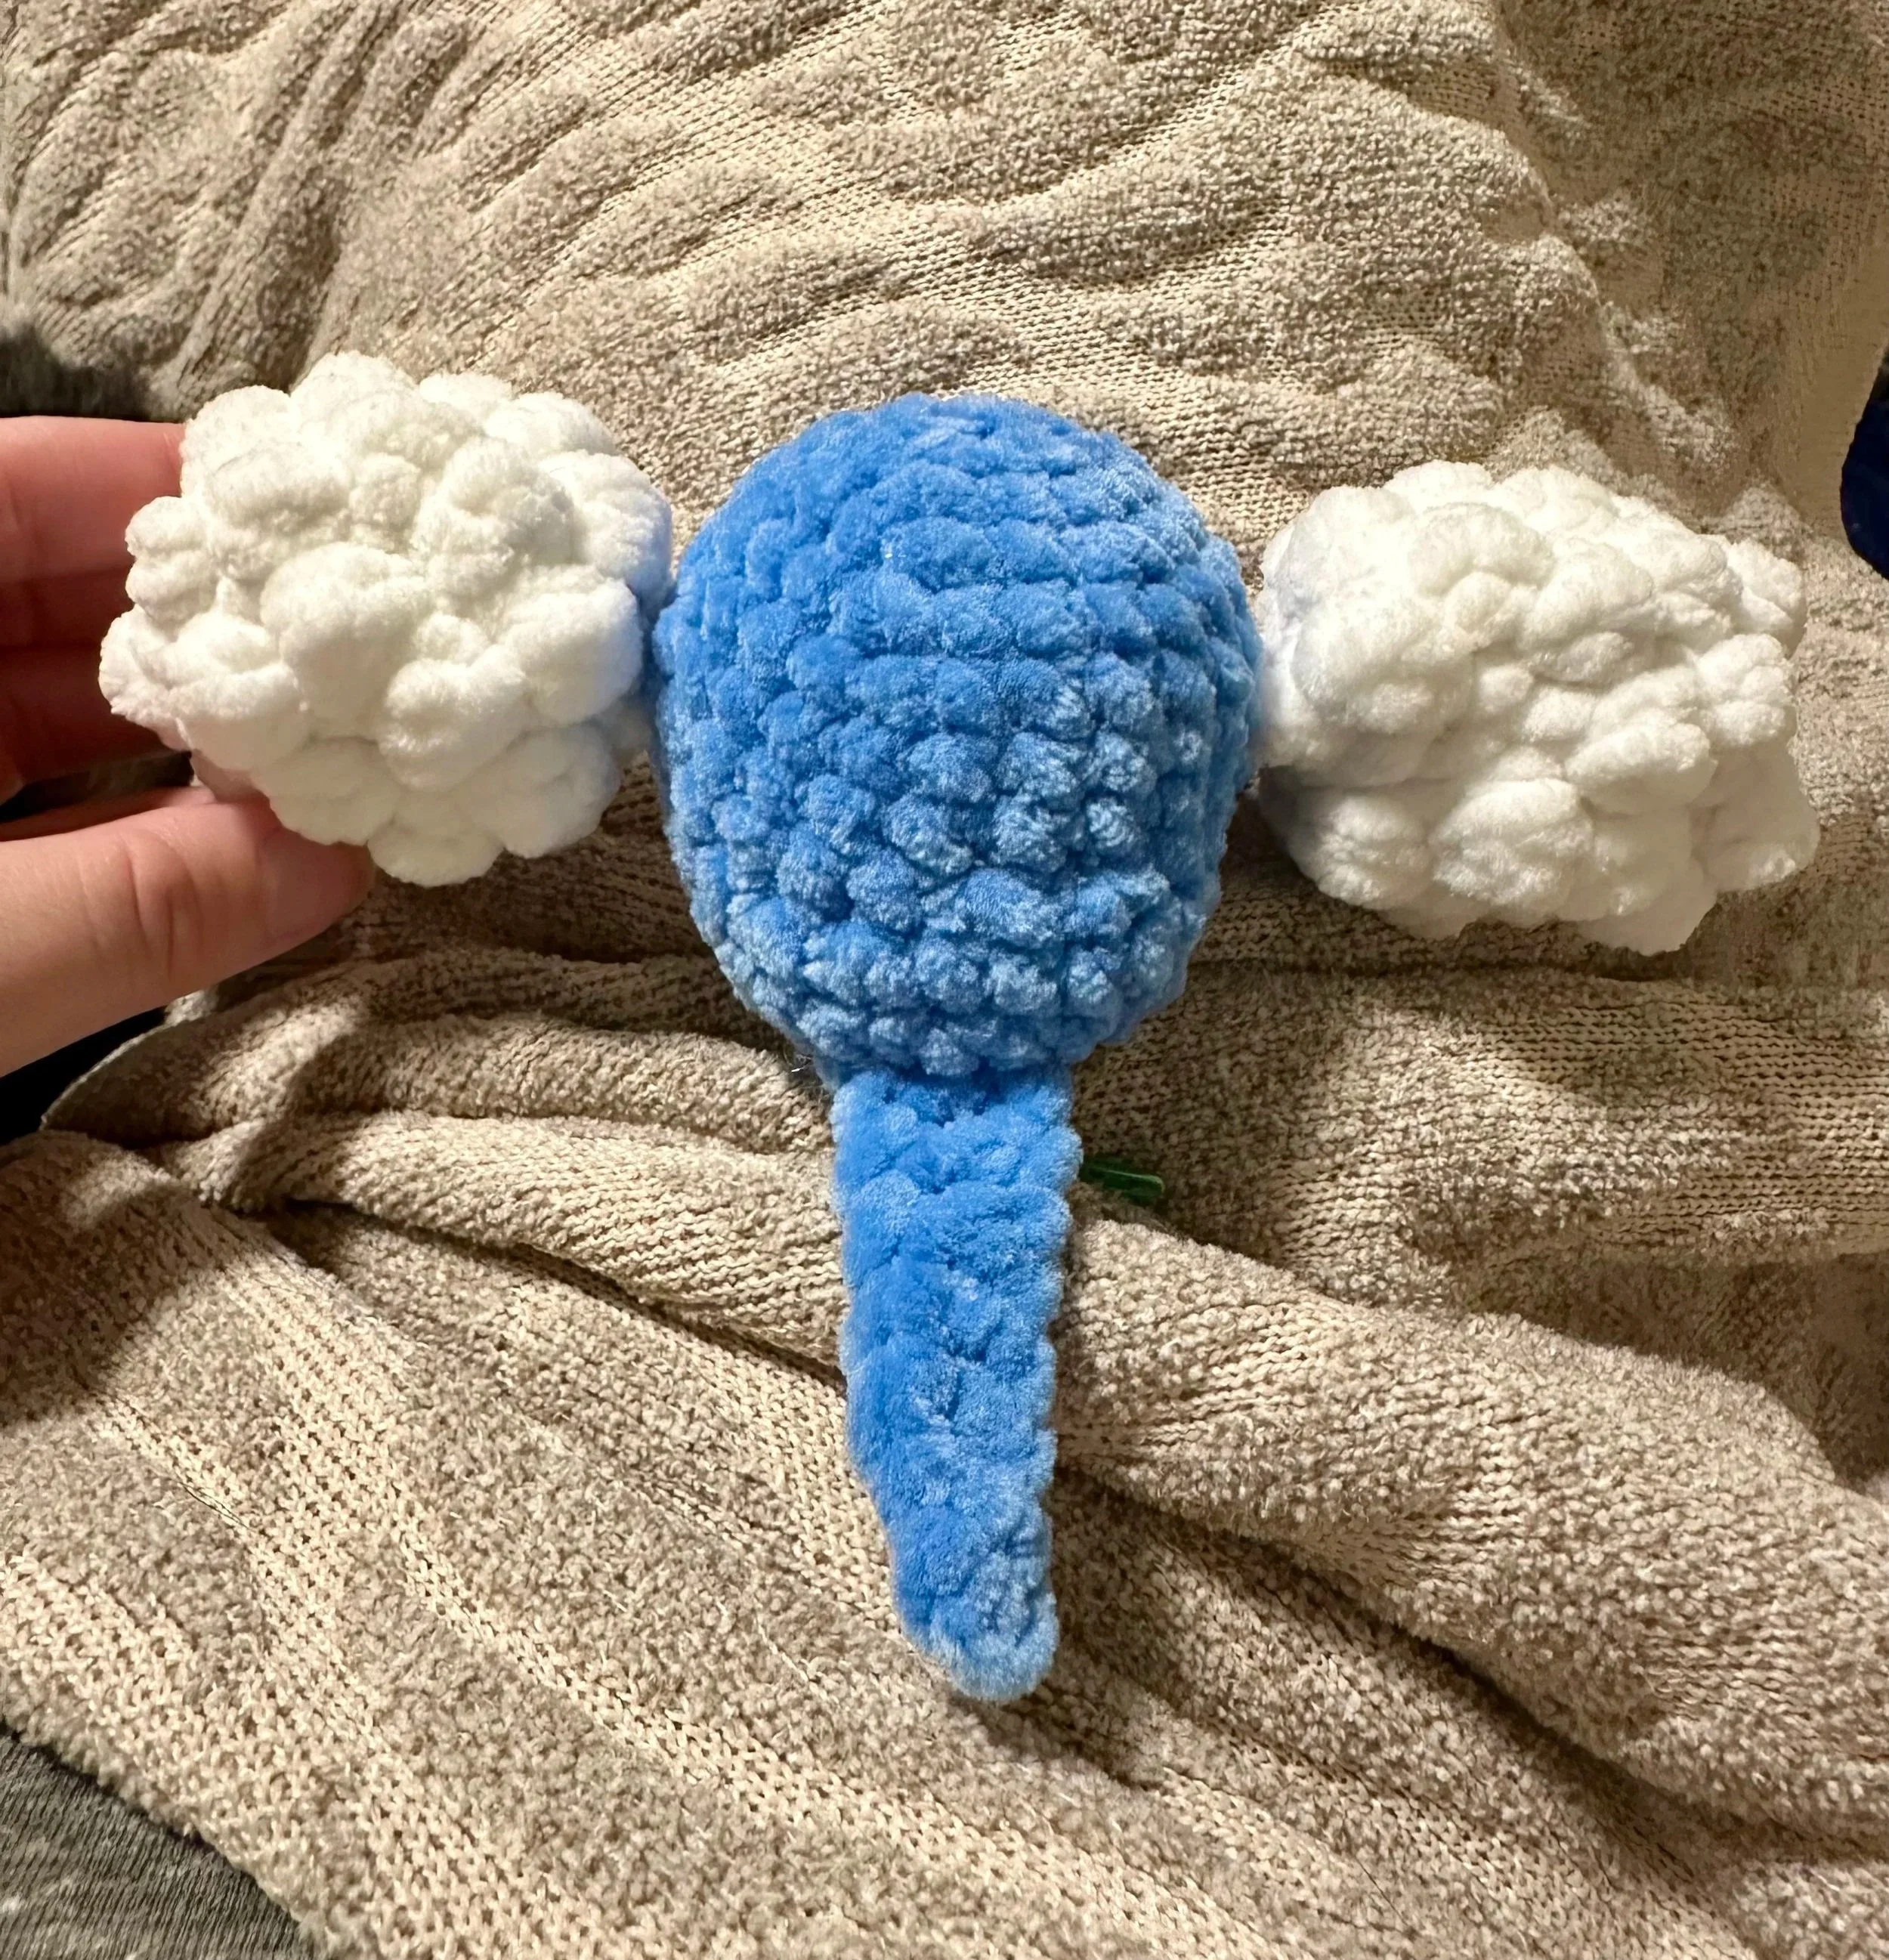
Swablu is generally very friendly, and not afraid of humans, which is perfect because this plushie is so soft and cuddly! Swablu has famous cloud-like wings, created in this pattern using the Bobble stitch. This is a great choice whether you love Bobbles or are looking to practice your Bobble stitch. You’ll find this pattern works up quickly enough to use for markets, and it can be made with any type of yarn!
If you are interested in a Cloud Bird plushie of your own, but don’t crochet, check out my custom order form here.
This pattern is intended for personal use only. Reselling, altering, rewriting, copying, or translating this pattern in any format is strictly prohibited. You may sell the finished product that you’ve made using this pattern, but please give credit back to me for the pattern (@crochetbyapryl). I appreciate your cooperation in this matter.
Want an ad-free PDF of this pattern with more photos? Shop here.
Note: This pattern may contain affiliate links, meaning I get a commission if you decide to make a purchase through my links, at no cost to you
Materials
Crochet hook (I used Clover 5mm)
Yarn in White and Blue (or Yellow for a Shiny version!)
I used Parfait Chunky from Premier
Stitch marker
Stuffing (I used Poly-Fil)
Scissors
Safety Eyes (I used 12mm) or felt for eyes
Abbreviations
This pattern is written in US Terms and worked in continuous rounds.
MR - magic ring
sc - single crochet
inc - increase
dec - invisible decrease
cc - color change
sl st - slip stitch
FLO - front loops only
BBL - bobble (5 loops on hook)
hdc - half double crochet
dc - double crochet
FO - fasten off
ch - chain
Let’s Begin!
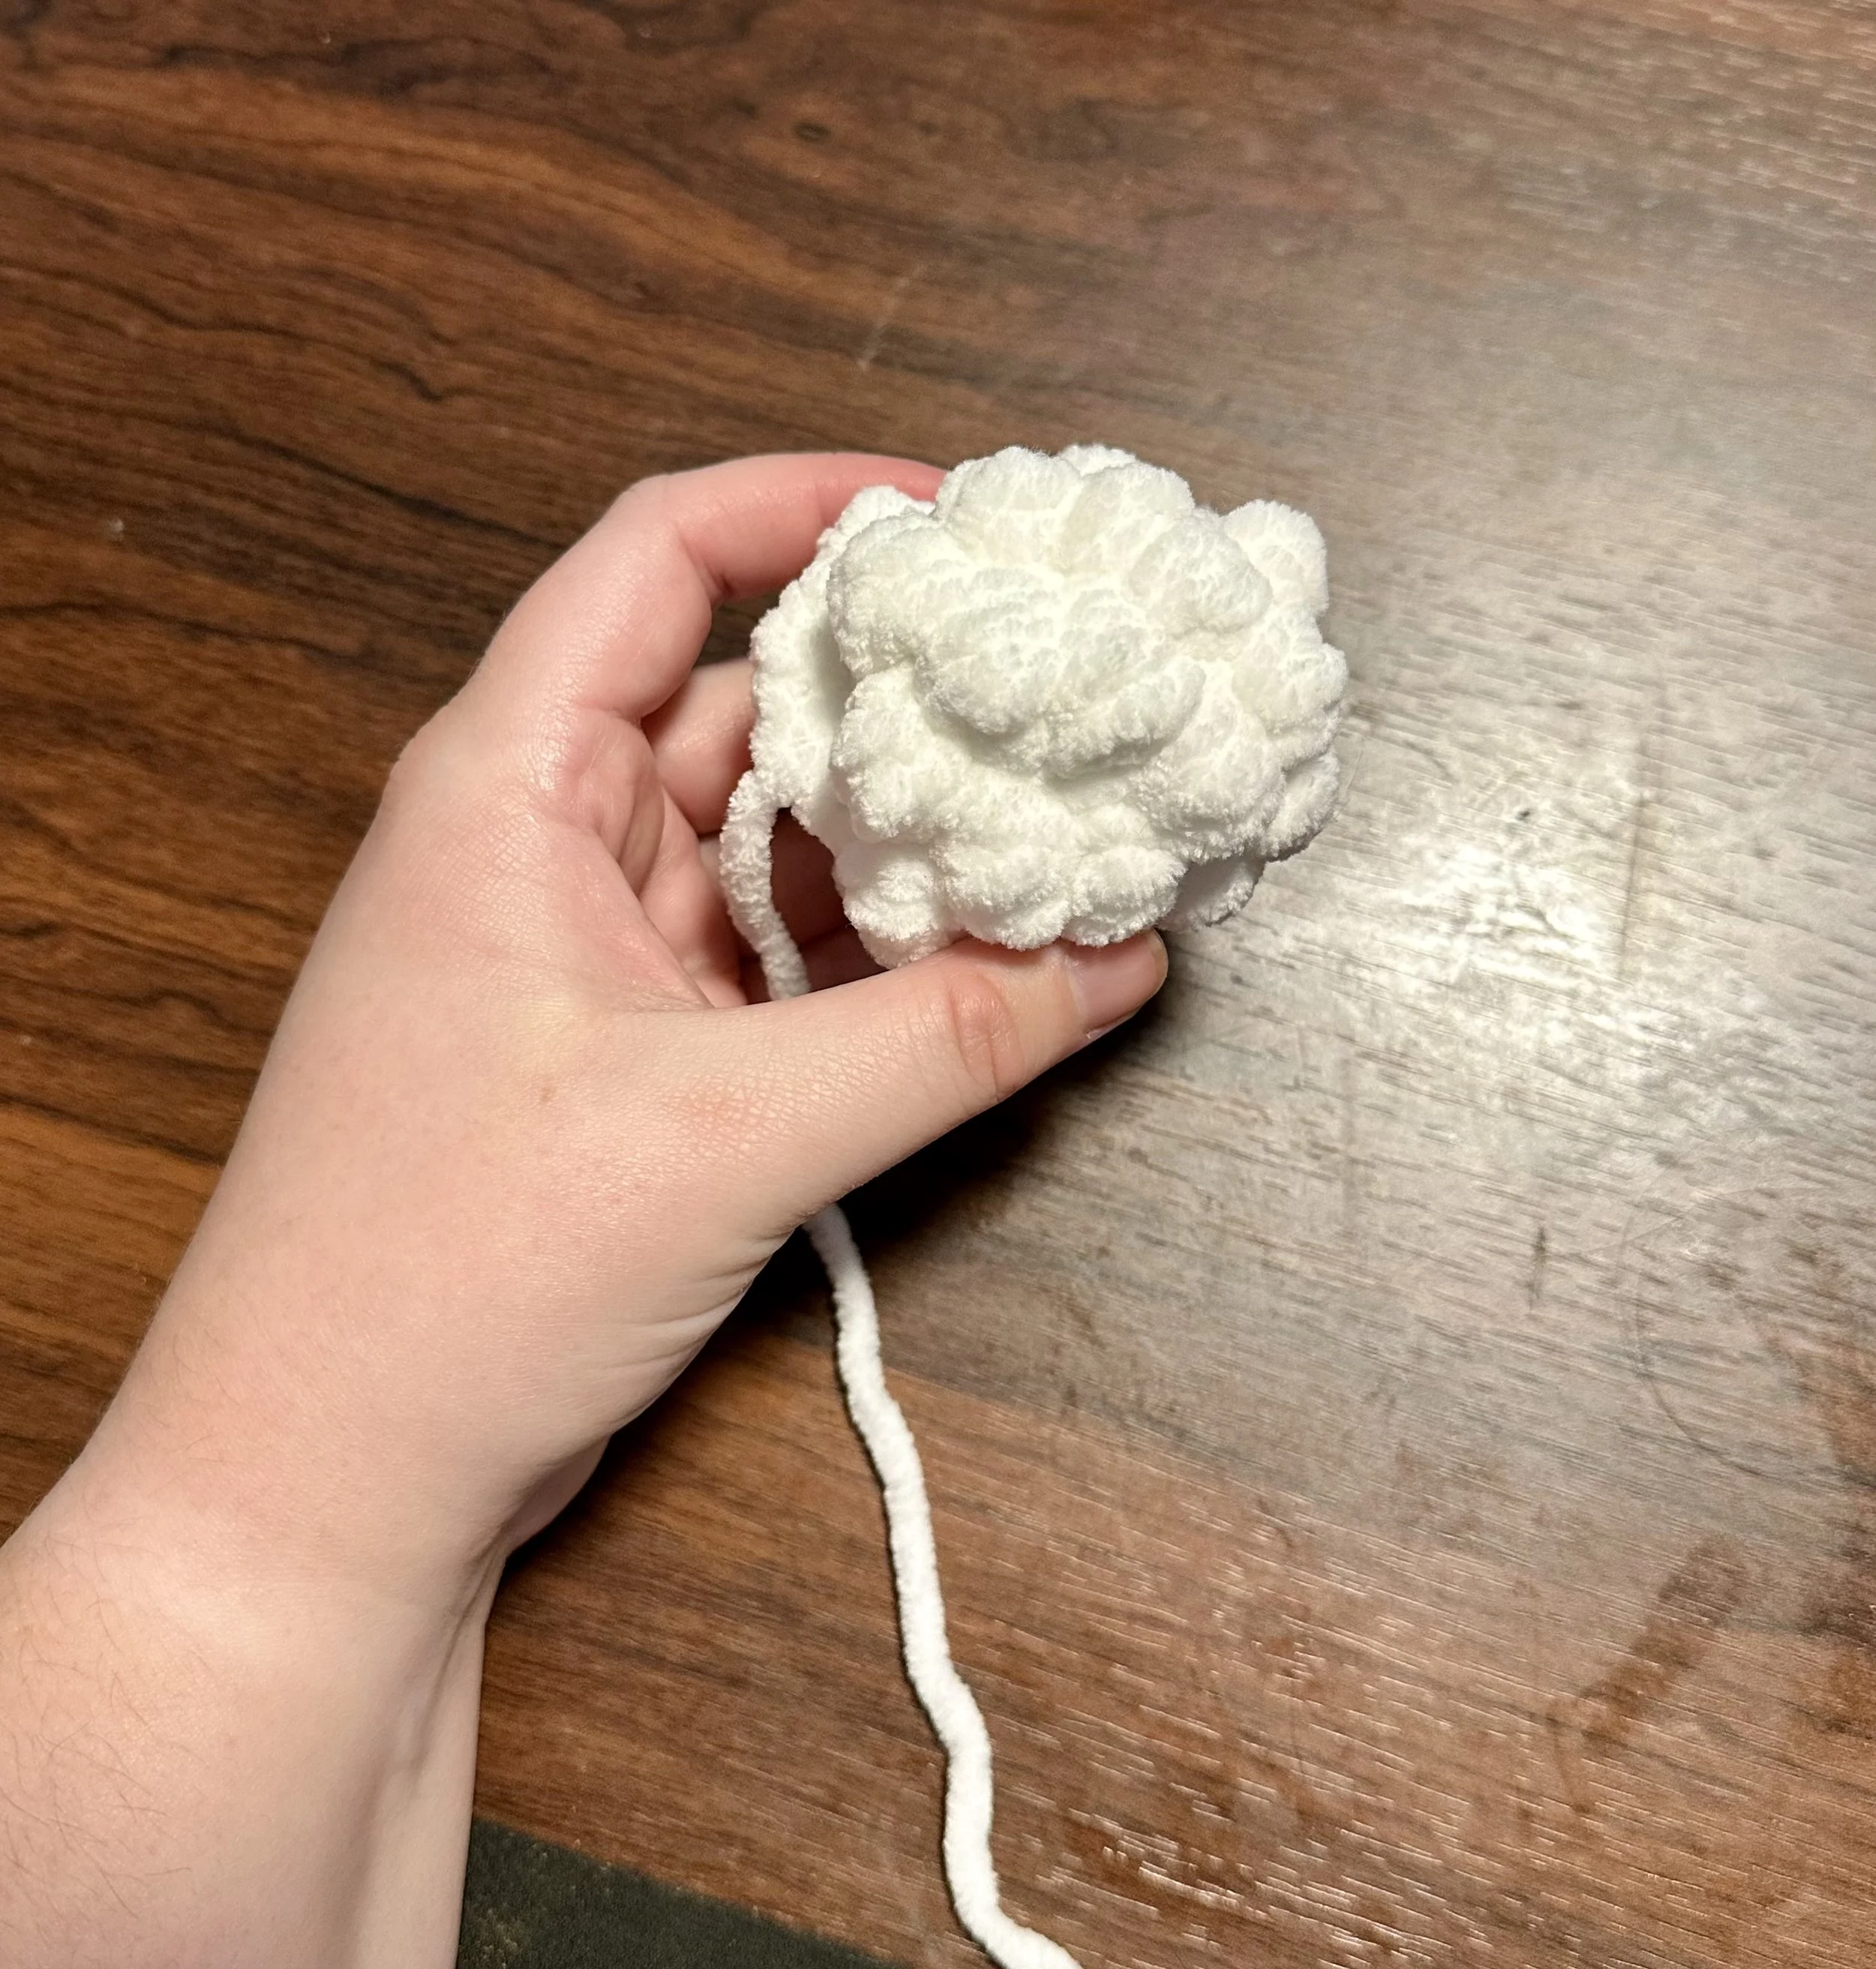
Wings (Make 2)
Make in White
Note: stitches in [brackets] are worked into the same stitch
R1: 6sc in MR (6)
R2: [BBL, sc] x 6 (12)
R3: (sc, BBL) x 5, sc, [BBL, sc] (13)
Tip: in R4-5, if there is too much of a gap between bobbles due to tension or yarn choice, switch the last sc of the round to a bobble!
R4-5: (BBL, sc) x 6, sc (13) [2 rounds]
R6: (sc, BBL) x 6, inc (14)
Stuff the wing firmly.
R7: 7 dec (7)
R8: Fold in half and 3sc across to close
FO and leave a short tail. Wings will be crocheted into the body.
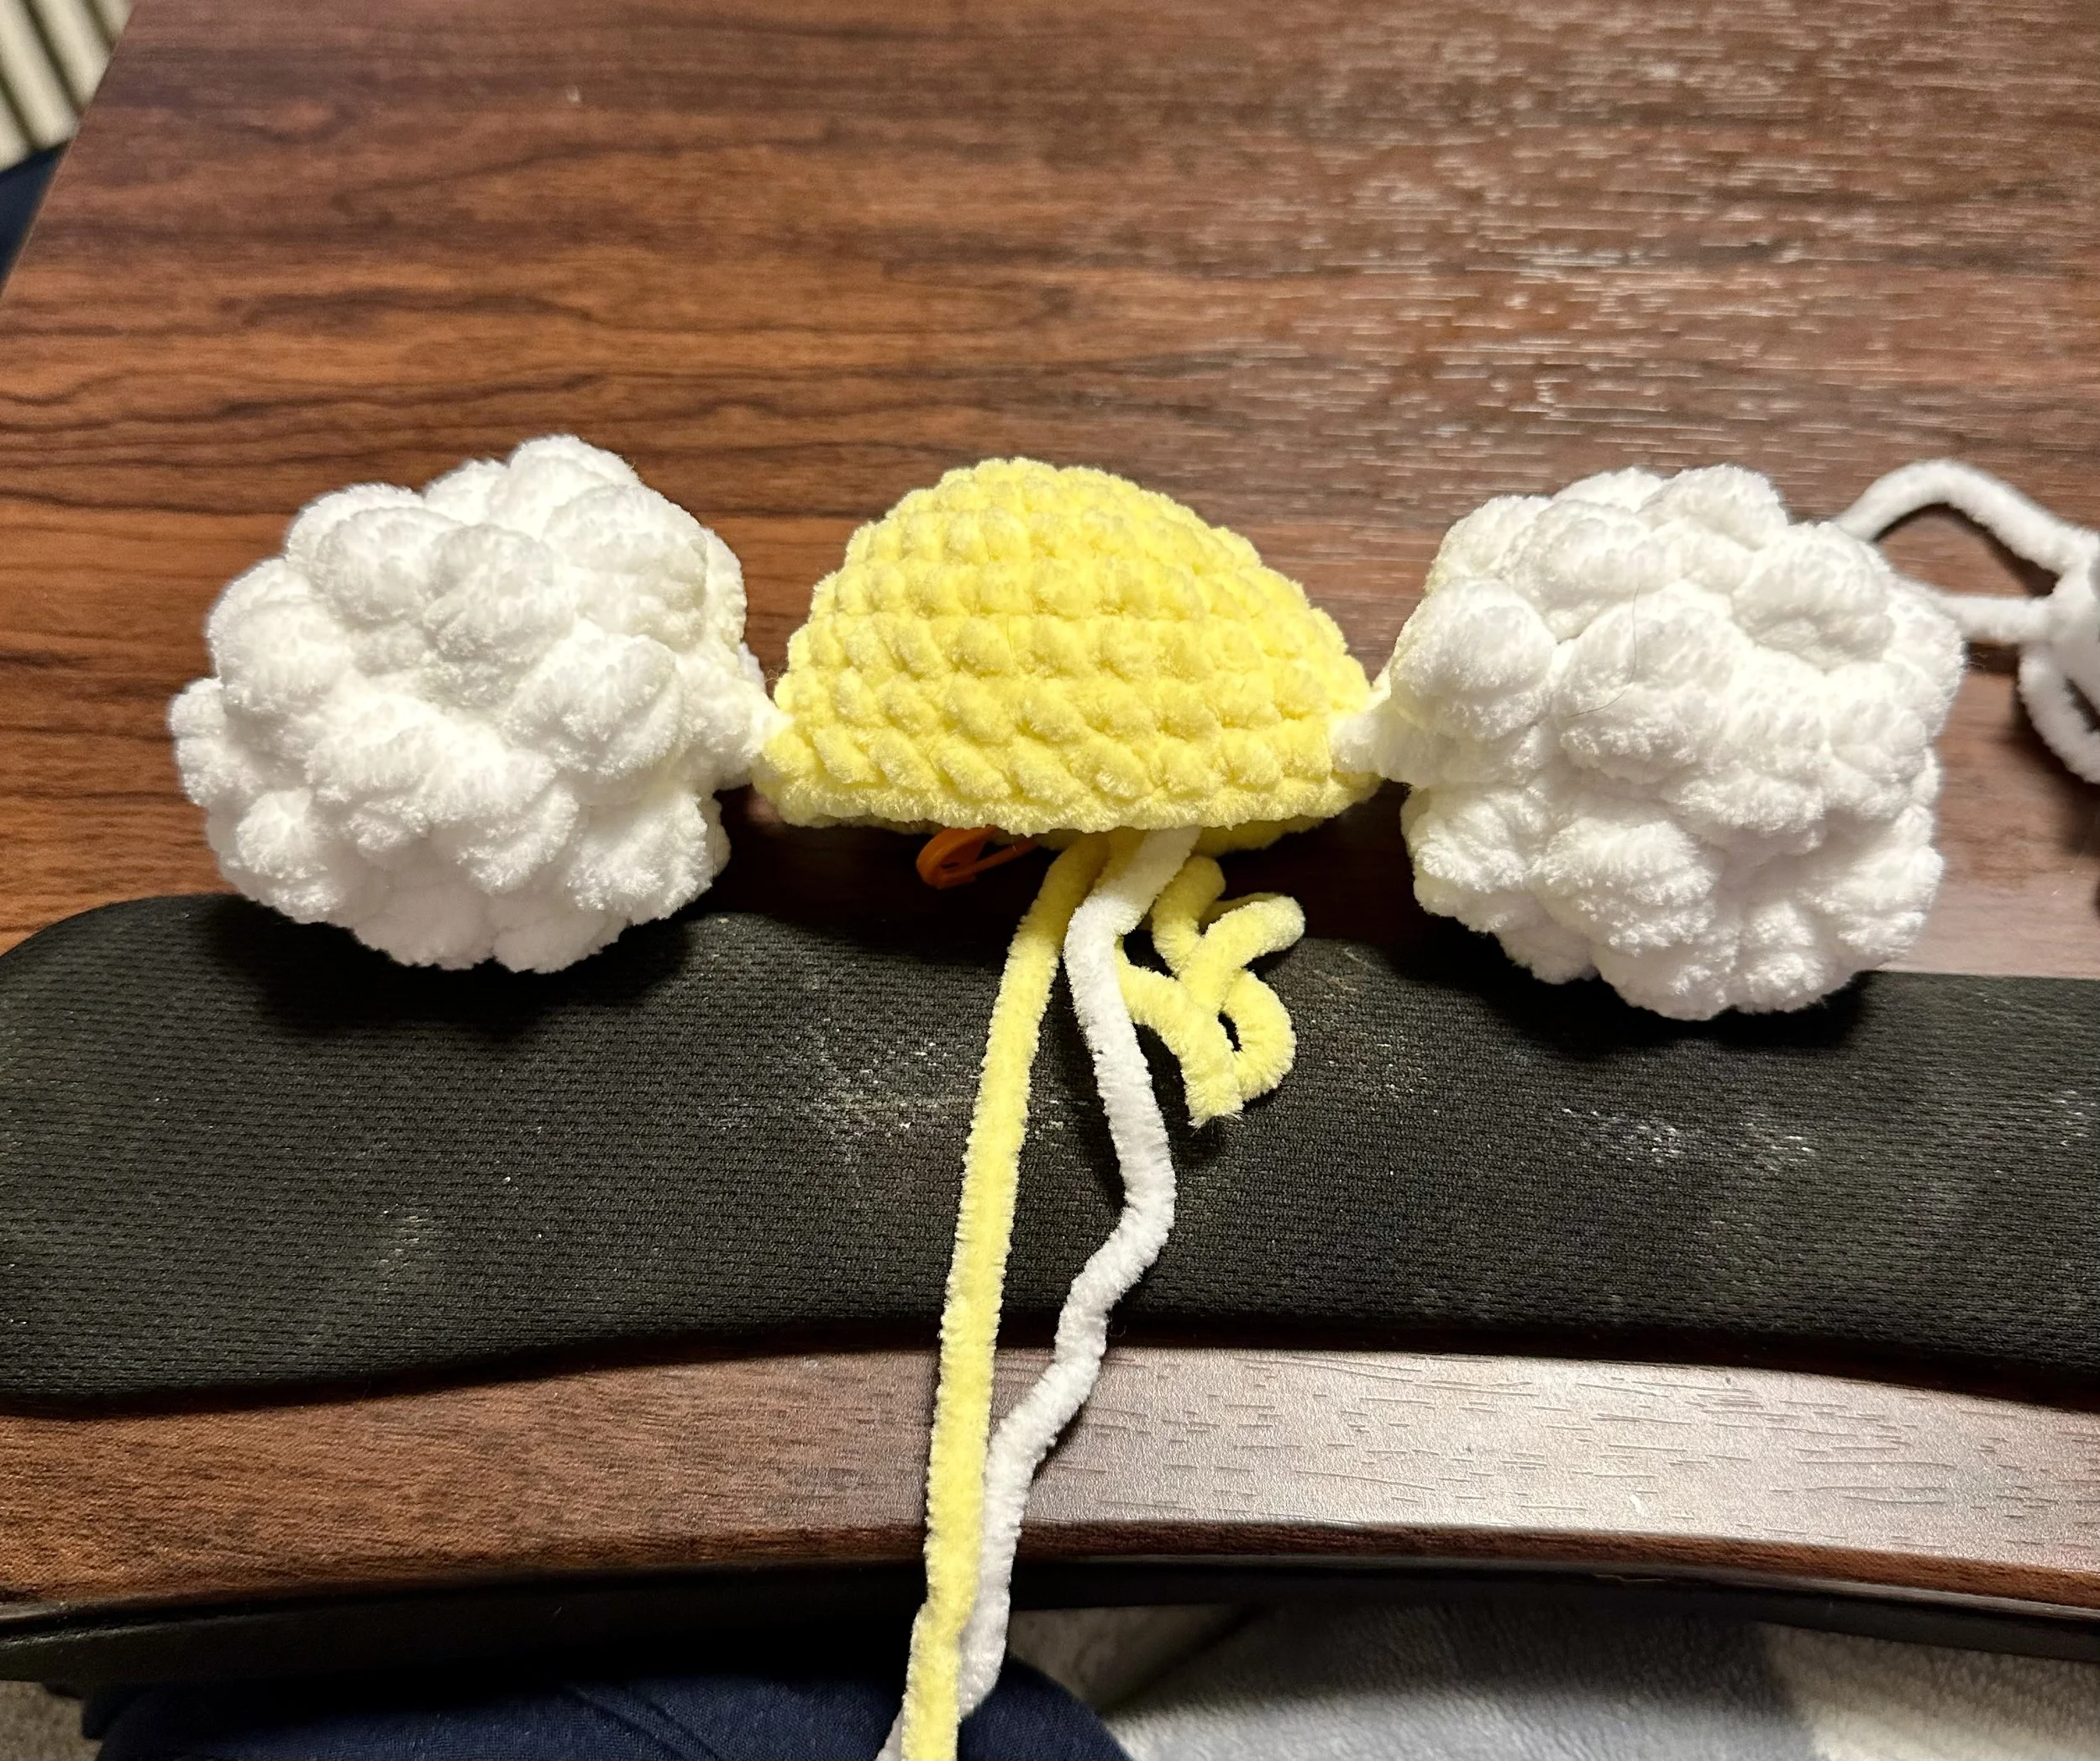
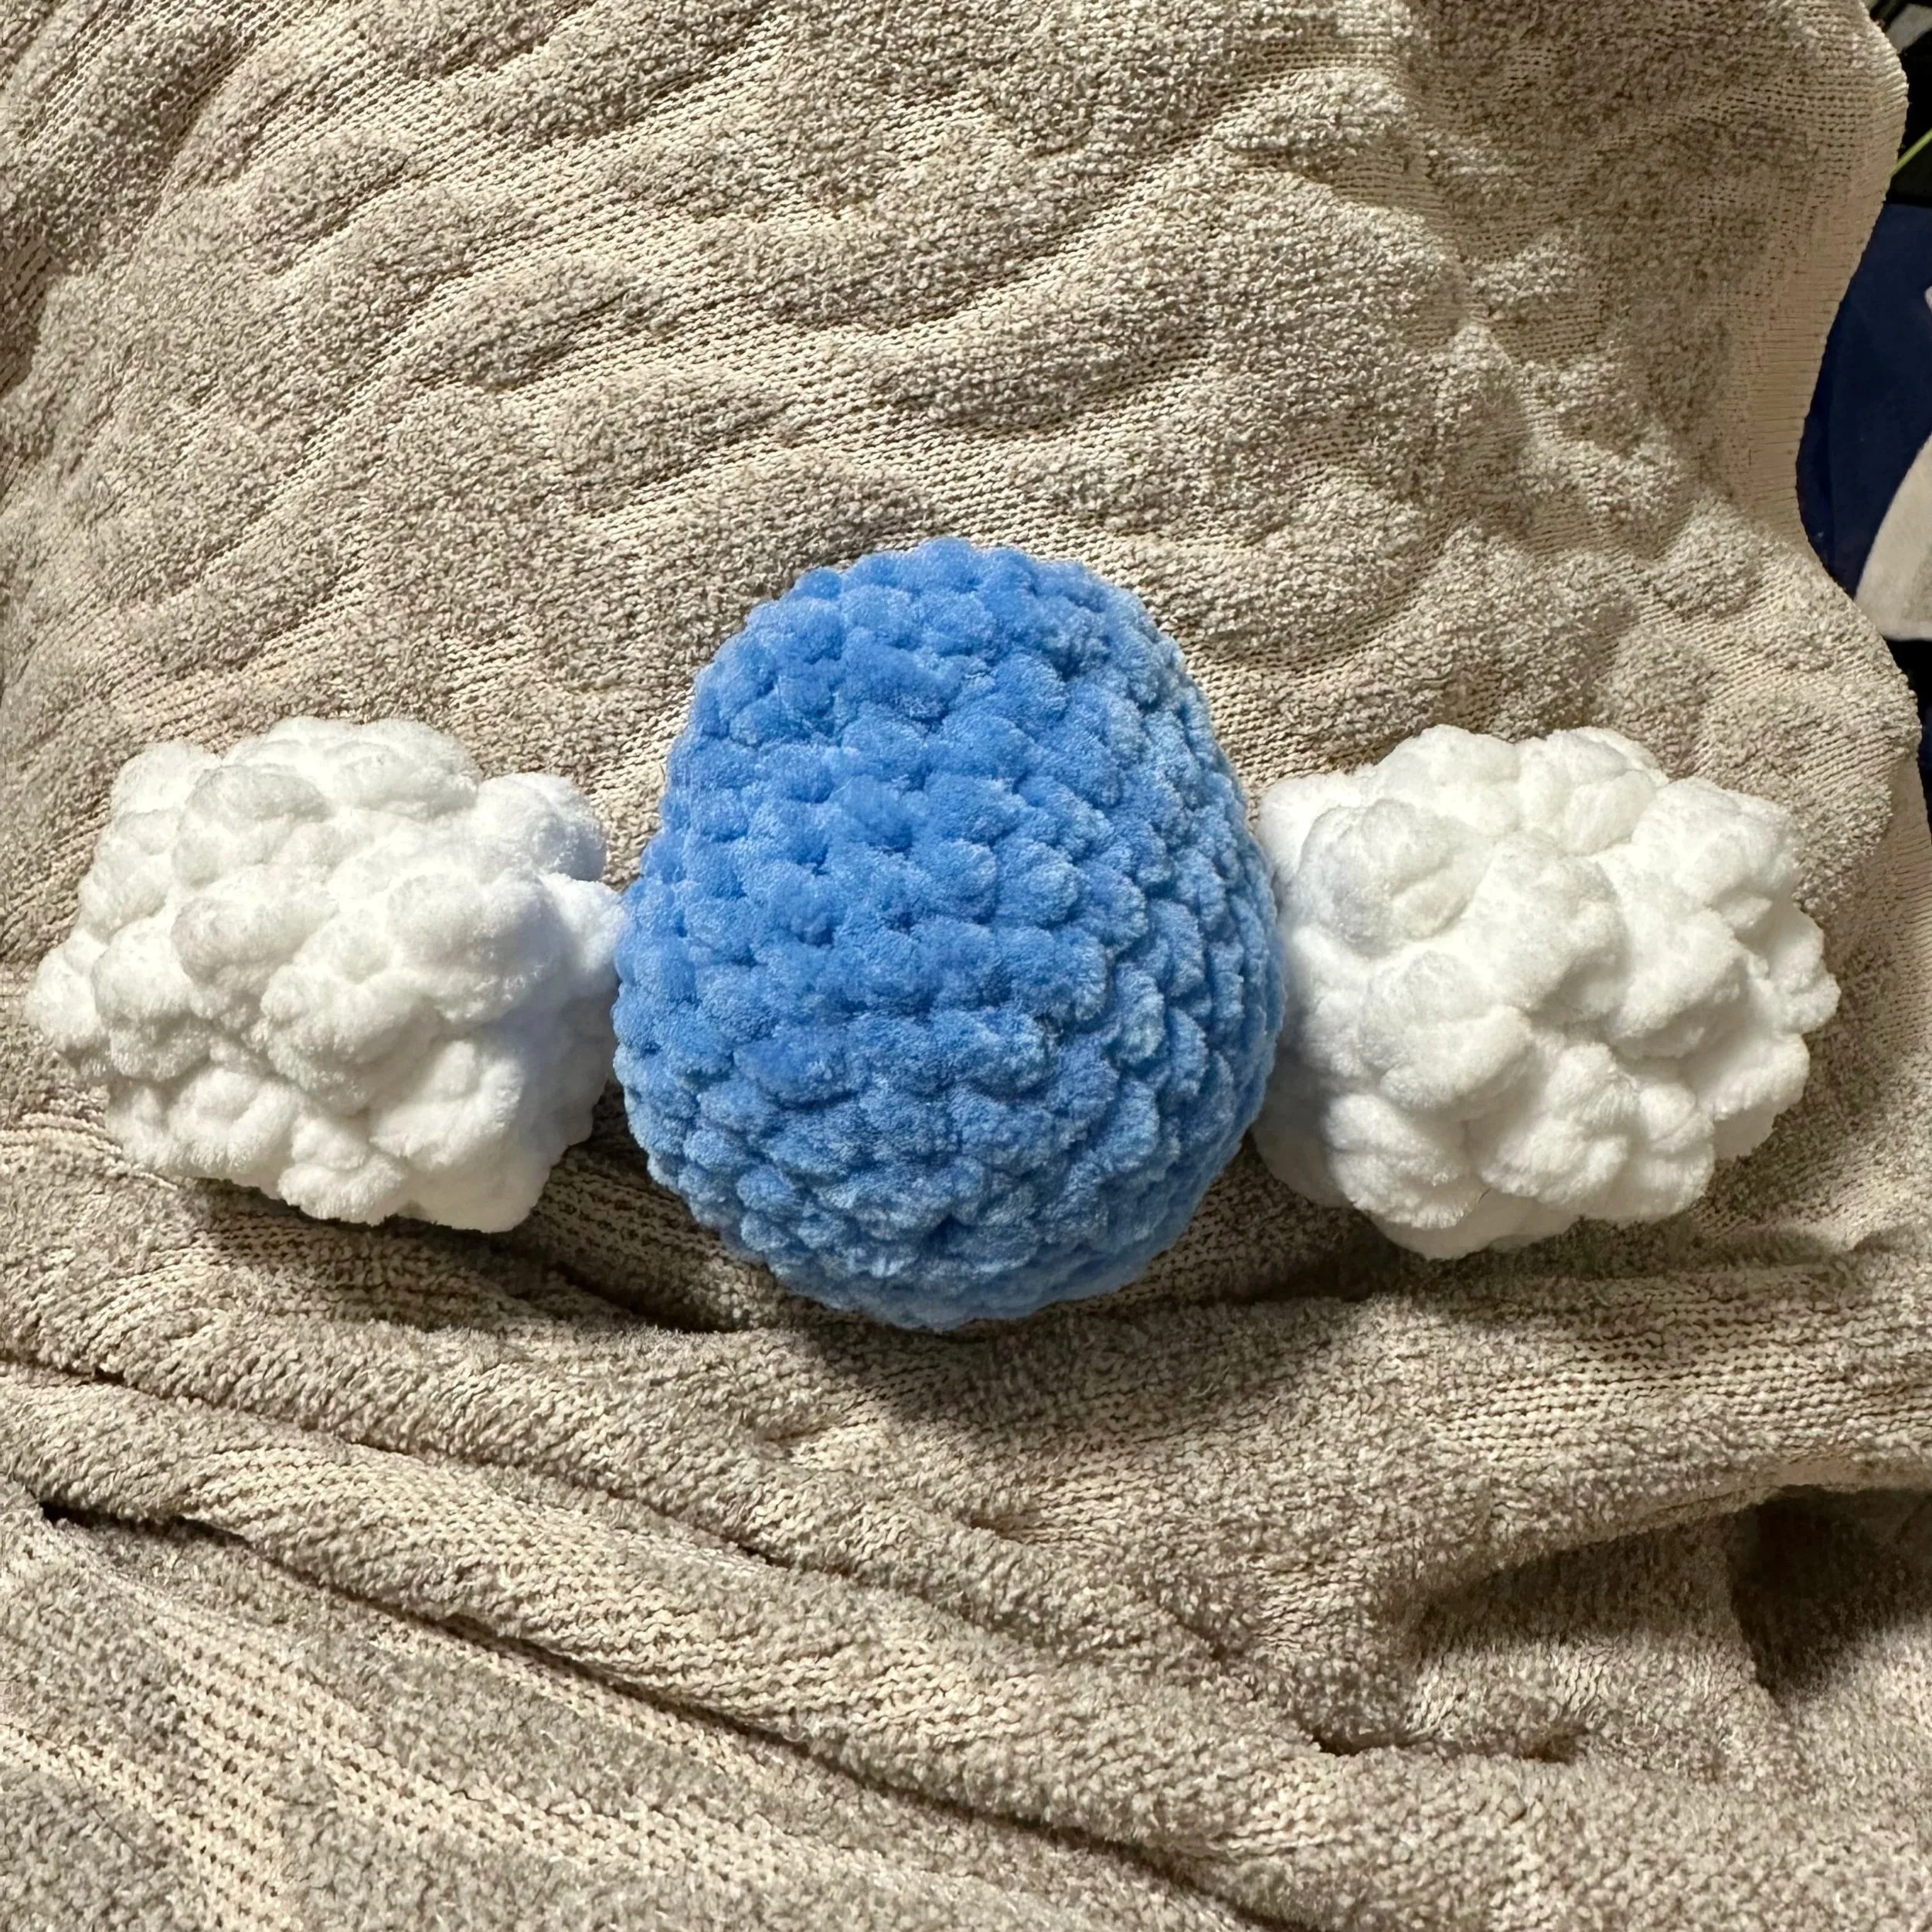
Body
Make in Blue, worked from the top to the bottom
R1: 6sc in MR (6)
R2: 6 inc (12)
R3: (1sc, inc) x 6 (18)
R4: (1sc, inc, 1sc) x 6 (24)
R5-7: 24sc (24) [3 rounds]
In the next round, the wings are crocheted in. Make the sc through the wing and the body.
R8: 5sc, 3sc with Wing 1, 8sc, 3sc with Wing 2, 5sc (24)
If using safety eyes, place between R5-6 approx 4 stitches apart on the side opposite your stitch marker.
R9: (FLO 2 inc), 6sc, 4 dec, 6sc, (FLO 2 inc) (24)
R10: 24sc (24)
R11: (4sc, dec) x 4 (20)
Stuff the body firmly.
R12: 10 dec (10)
R13: 5 dec (5)
FO and close the remaining hole. Weave in ends.
Tail
Hold the body with the face away from you, upright. Attach Blue yarn between R10-11, on the back of the body, approximately 2 stitches from the center.
Ch 9, starting in the second ch from hook & working down the ch: sl st, sc, 3 hdc, 3 dc
Sl st back into the body 2 stitches over from where the tail starts.
FO and weave in ends. Use ends to secure the last dc to the body to secure the tail if needed.

Feet (Make 2)
The feet are made by surface crocheting 2 mini bobbles on the bottom of the body. Hold the body upside down with the face away from you.
Attach white yarn with a sl st between R11-12 on the bottom of the body
Make a mini bobble (3 loops on hook)
Sl st back into the body in the next stitch over.
Repeat 2 stitches over to create the second foot.
FO and weave in ends.
Beak
Make in White
R1: 4sc in MR (4)
R2: (1sc, inc) x 2 (6)
R3: 6sc (6)
FO and leave a tail for sewing. Add stuffing if needed.
Sew to the body, around R5-6. Center between the eyes.
Head Feathers
Attach blue yarn to the top of the body by the MR with a sl st.
Ch 5, starting in the second ch from hook: 4 sl st down the ch
Sl st back into the body
Repeat one more time
FO and weave in ends
Your Cloud Bird Plushie is complete!

Thank you for your support of my pattern and for making your own Cloud Bird plushie. I would love to see your creations if you share on Instagram - tag me @crochetbyapryl! In addition, check out my tester’s work and give them a follow.