
Mini No Sew Cat Crochet Pattern
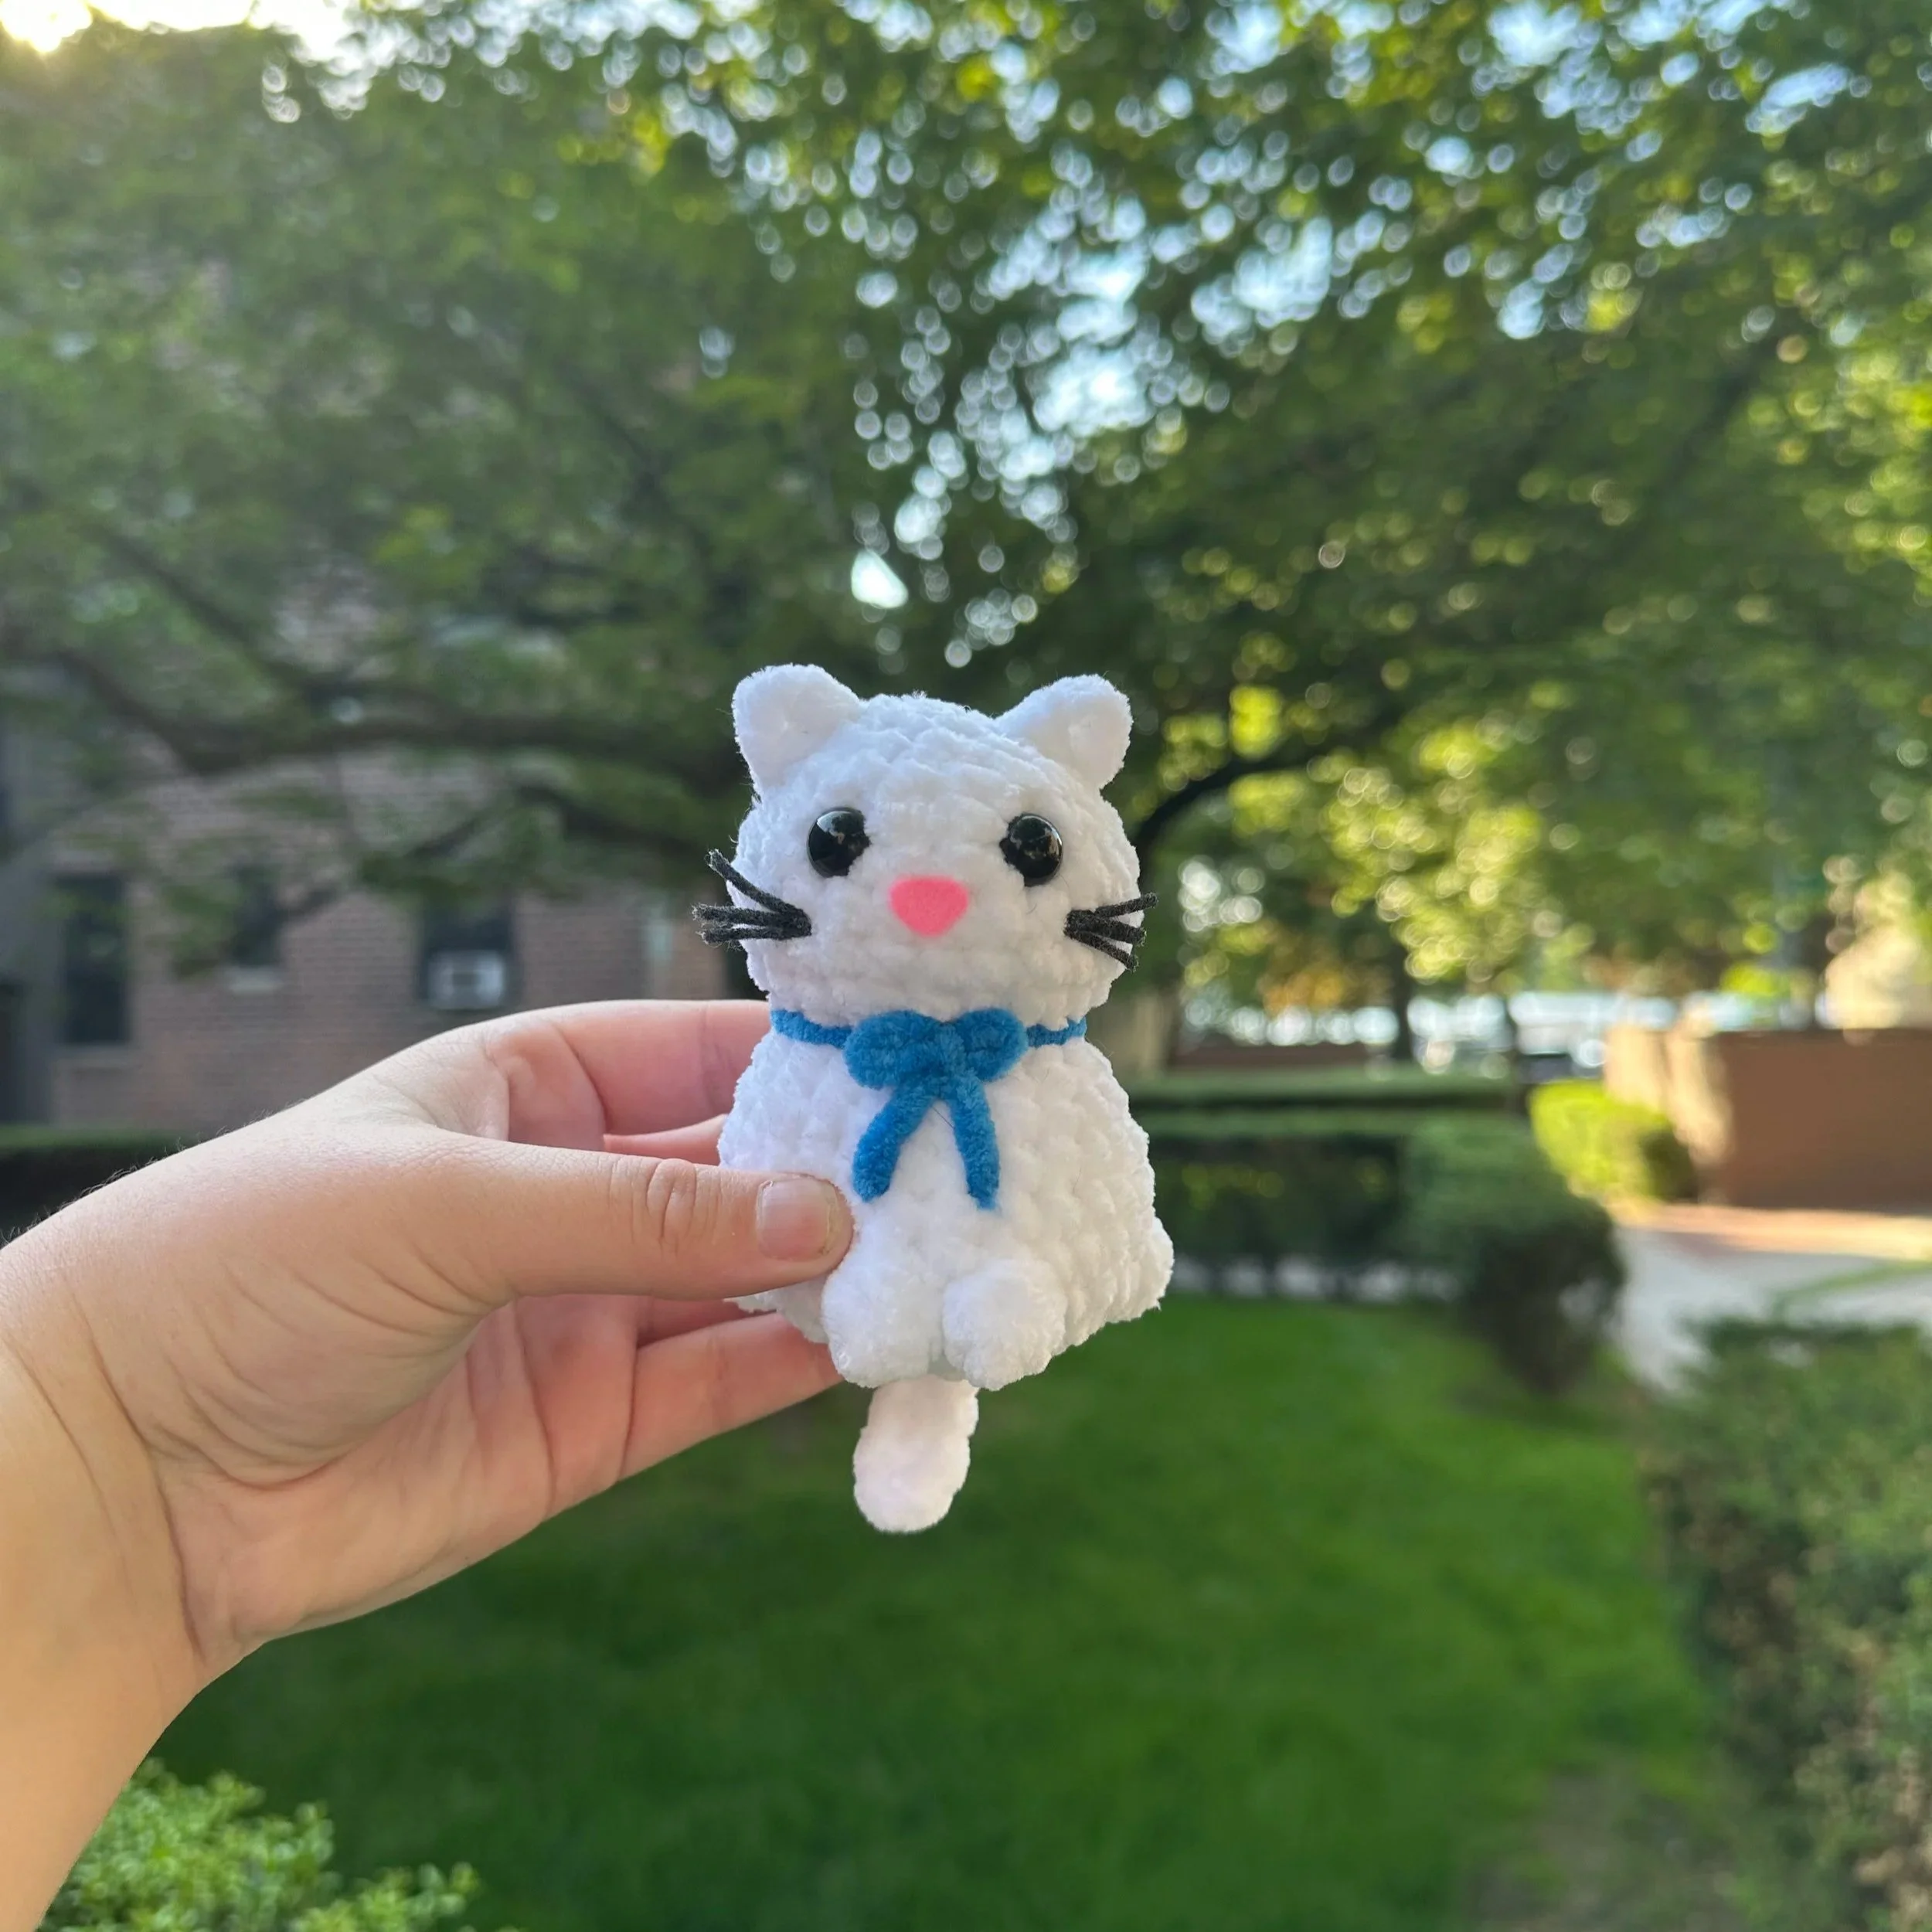
This mini cat pattern will be your new go to for markets! It’s no sew and works up in under an hour. You can make a solid colored cat or throw in color changes to make your cats unique! It’s complete up to you.
This pattern is intended for personal use only. Reselling, altering, rewriting, copying, or translating this pattern in any format is strictly prohibited. You may sell the finished product that you’ve made using this pattern, but please give credit back to me for the pattern (@crochetbyapryl). I appreciate your cooperation in this matter.
Crochet hook (I used Clover 5mm)
Yarn in cat color of choice (I used white)
I used Parfait Chunky from Premier
Stitch marker
Stuffing (I used Poly-Fil)
Scissors
Safety Eyes (I used 9mm) or felt for eyes
Acrylic yarn in black and pink or felt for whiskers and nose
Abbreviations
This pattern is written in US Terms and worked in continuous rounds.
MR - magic ring
sc - single crochet
inc - increase
dec - invisible decrease
cc - color change
sl st - slip stitch
BBL - bobble (5 loops on hook)
FO - fasten off
ch - chain
Let’s Begin!
Body
Start in white (or the color you’ve chosen for your cat)
R1: 6sc in MR [6]
R2: 6 inc [12]
R3: (sc, inc) ×6 [18]
R4: (2sc, inc) ×6 [24]
R5: 4sc, BBL, 5sc, BBL, sc, BBL, 5sc, BBL, 5sc, TAIL [24]
TAIL: ch 9, turn & start in 2nd loop from hook: 2 hdc, 3sc, 3 sl st, sl st into original stitch
R6-8: 24sc [24] (3 rounds)
R9: (2sc, dec) ×6 [18]
R10: 18sc [18]
R11: (sc, dec) ×6 [12]
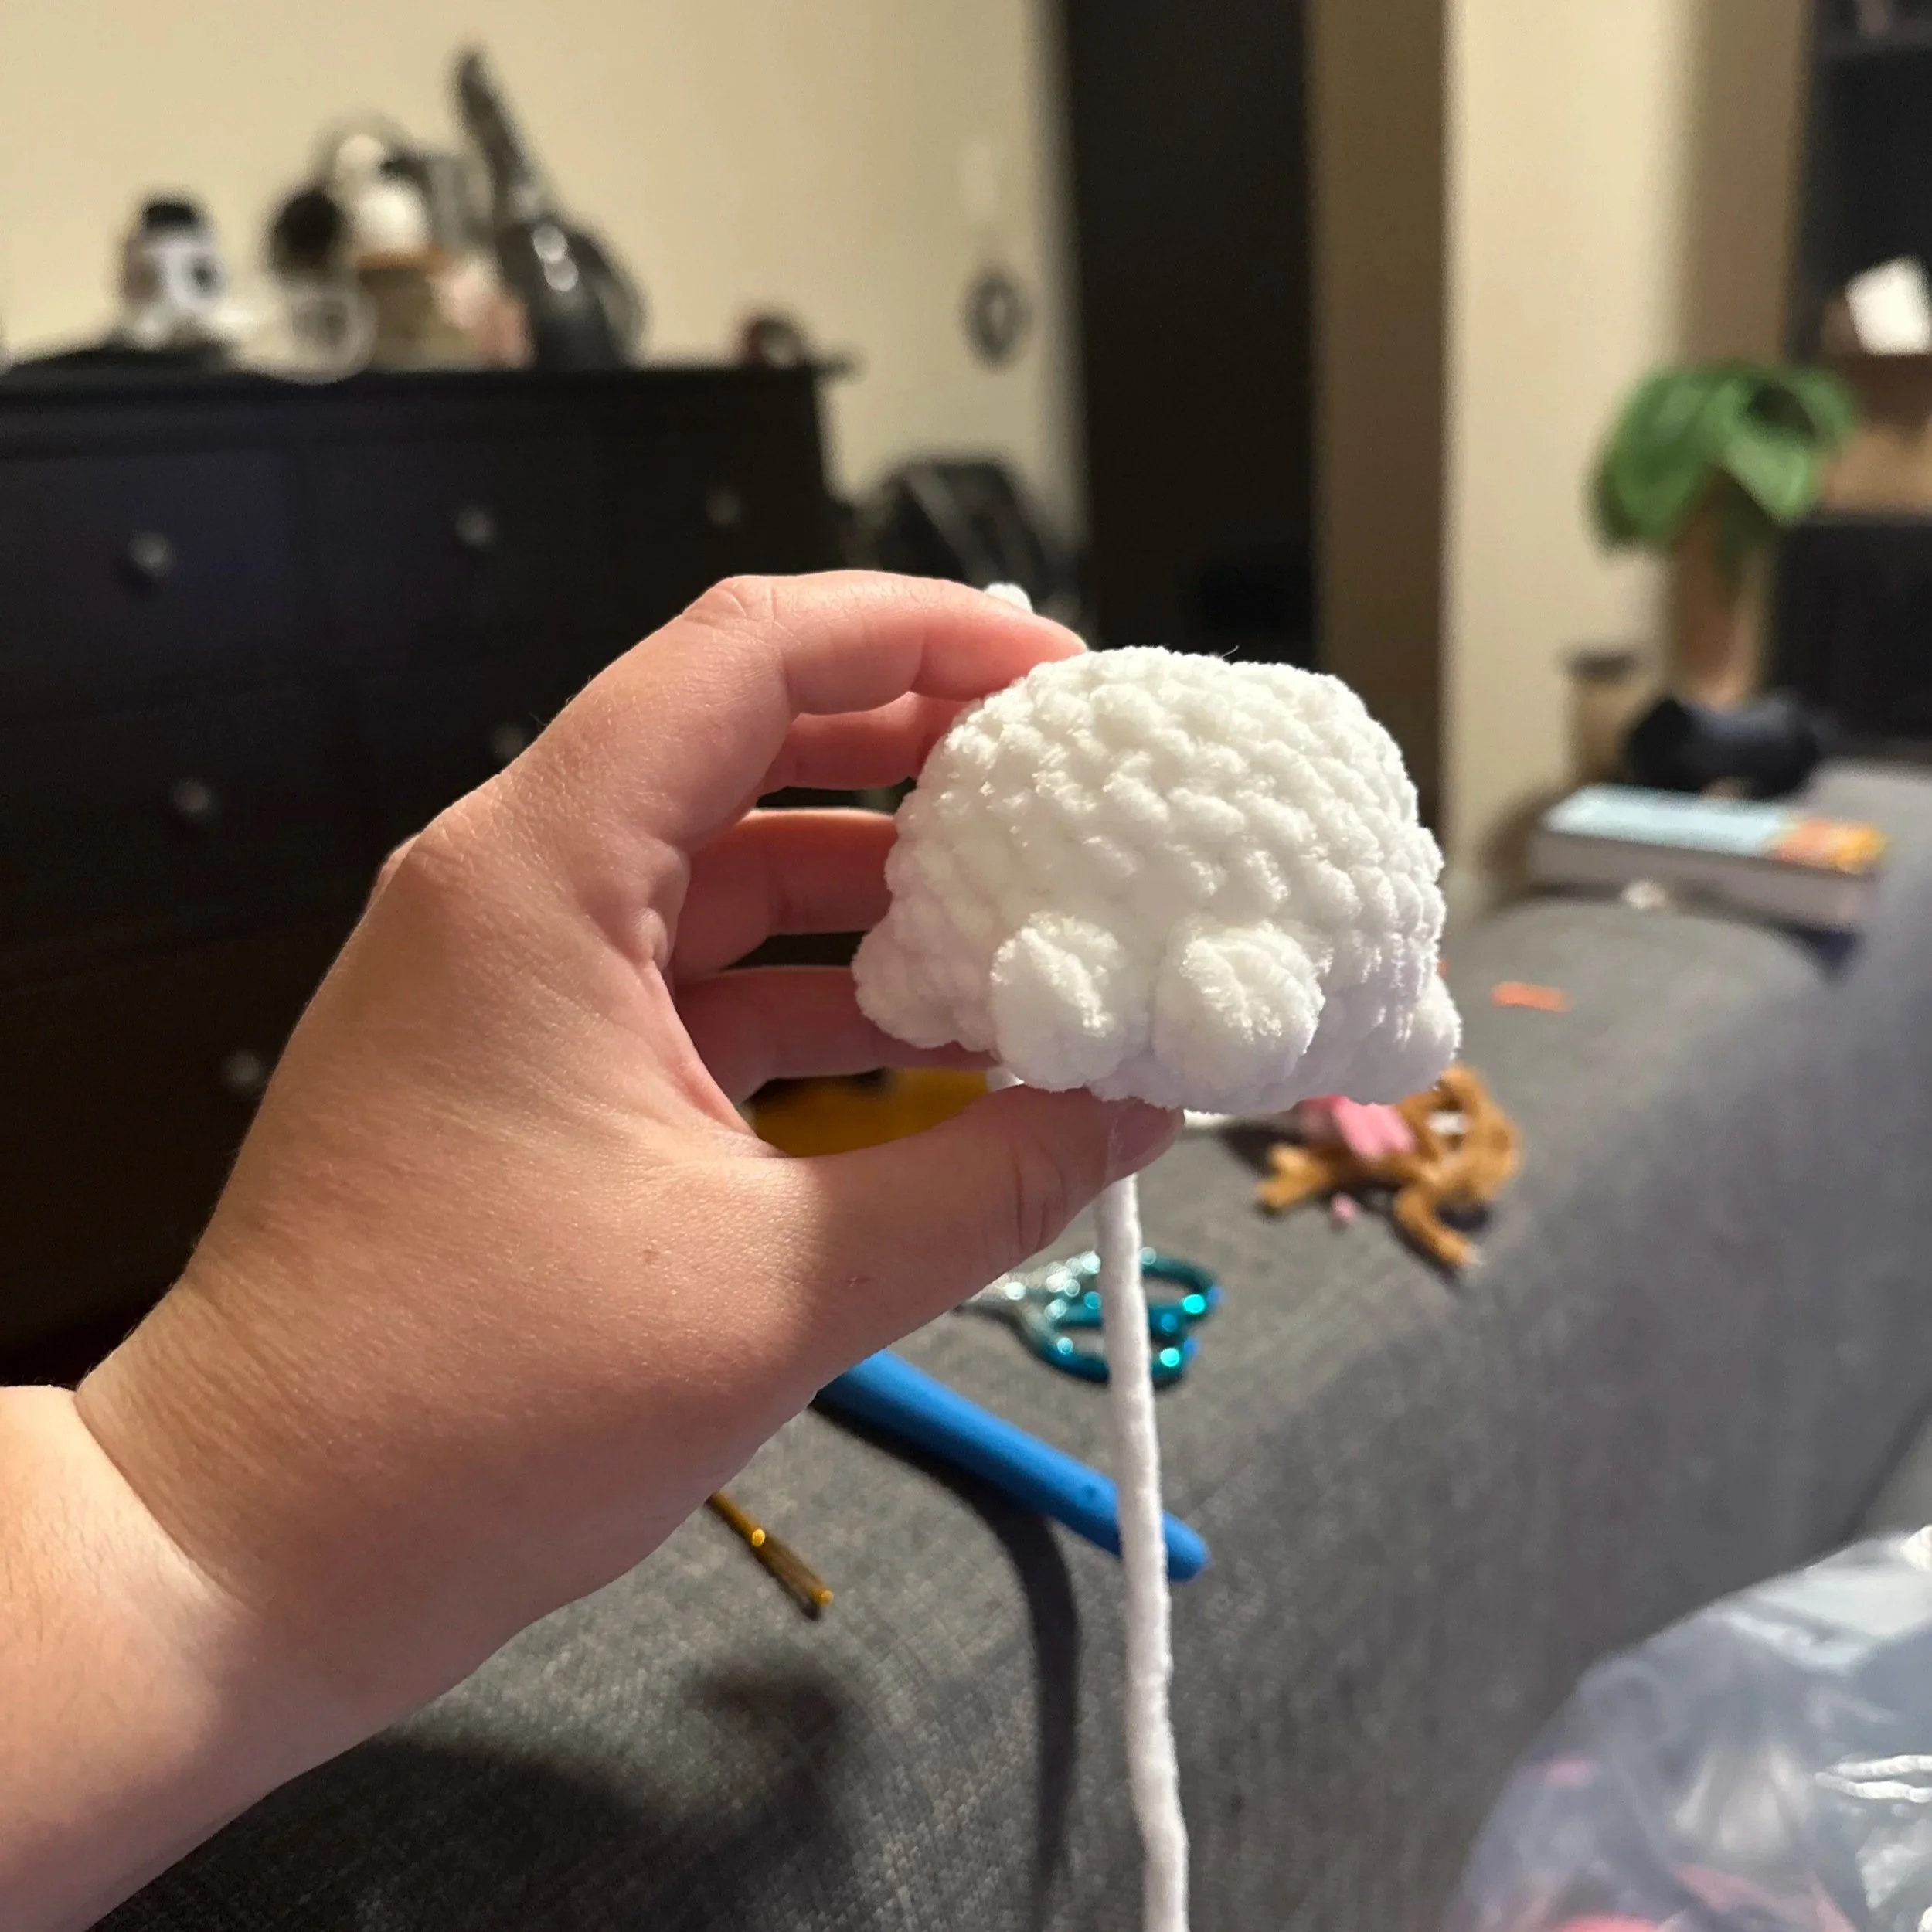
Stuff the body firmly.
Do not fasten off, continue to head.
Head - continued from Body
R12: (sc, inc) x 6 [18]
R13: (2sc, inc) x 6 [24]
R14 - R16: 24sc [24] (3 rounds)
R17: (2sc, dec) x 6 [18]
R18: 18sc [18]
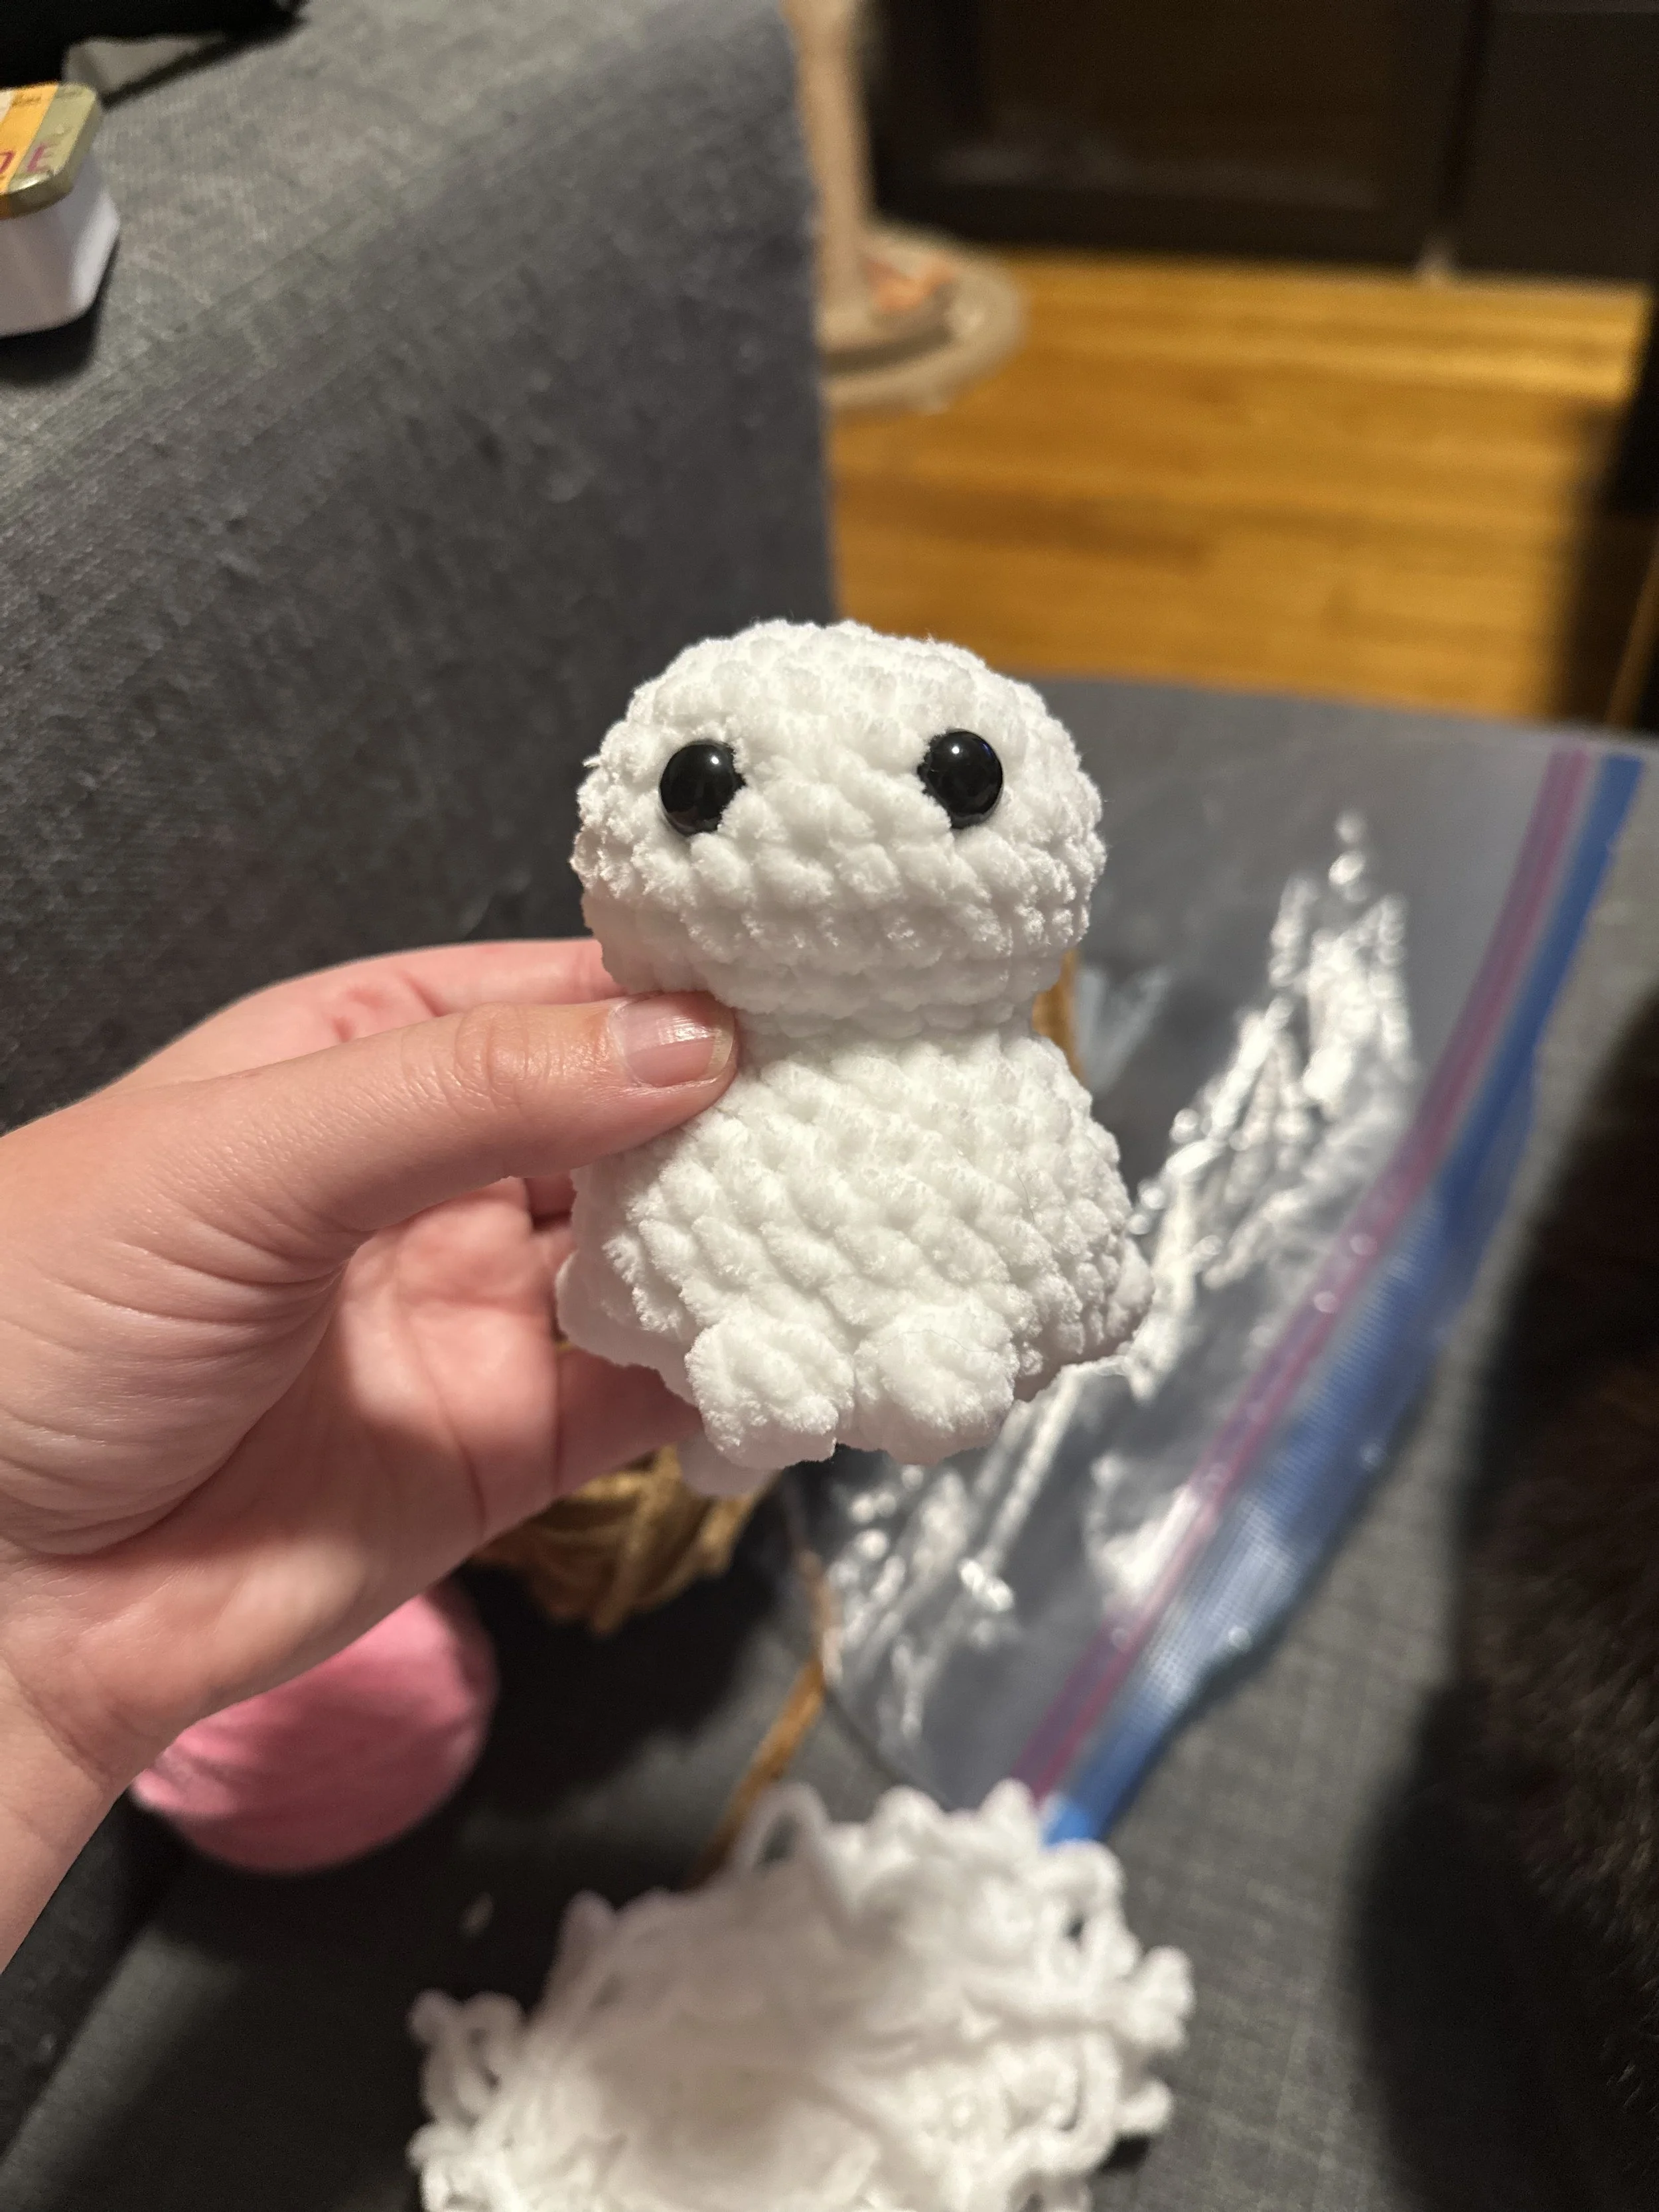
Insert safety eyes between R16-17, approximately 3 stitches apart (centered over the BBL from R5).
Start stuffing head firmly.
R19: (sc, dec) x 6 [12]
Finish stuffing.
R20: 6 dec [6]
FO and sew the remaining gap closed using the front loops from the last round.
Ears
Attach white yarn between R18-19 with a sl st, approximately 3 stiches behind the eyes.
In the same stitch: [hdc, ch 2, hdc]
Sl st into the head in the next stitch.
Note: Ears are worked across 2 stitches total.
FO and weave ends.
Repeat on other side of the head, approximately 4 stitches away from the first ear. Align ears with the eyes.

Embroidery & Finishing Touches
Using pink yarn, embroider a nose 1 row under the eyes, approximately 2 stitches wide.
Using black yarn, embroider whiskers on either side of the nose.
Alternatively, you can use felt for the nose and whiskers.
To finish, add a bow in any color around the cat’s neck.
Your Mini Cat is done!
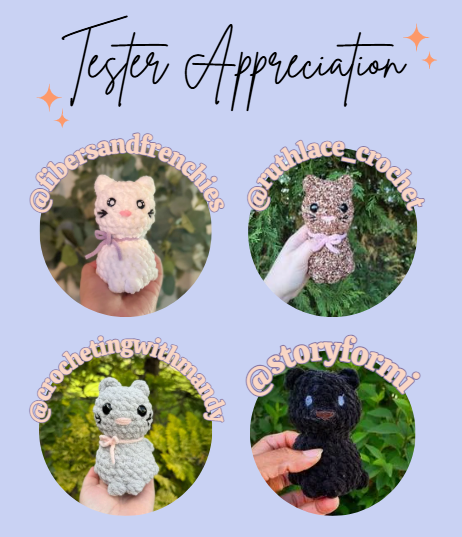
Thank you for your support of my pattern and for making your own Mini Cat plushie. I would love to see your creations if you share on Instagram - tag me @crochetbyapryl! In addition, check out my tester’s work and give them a follow.