
Mini Winter Buddies (Snowflake & Christmas Tree) Crochet Pattern
Hooked for the Holidays Day 6
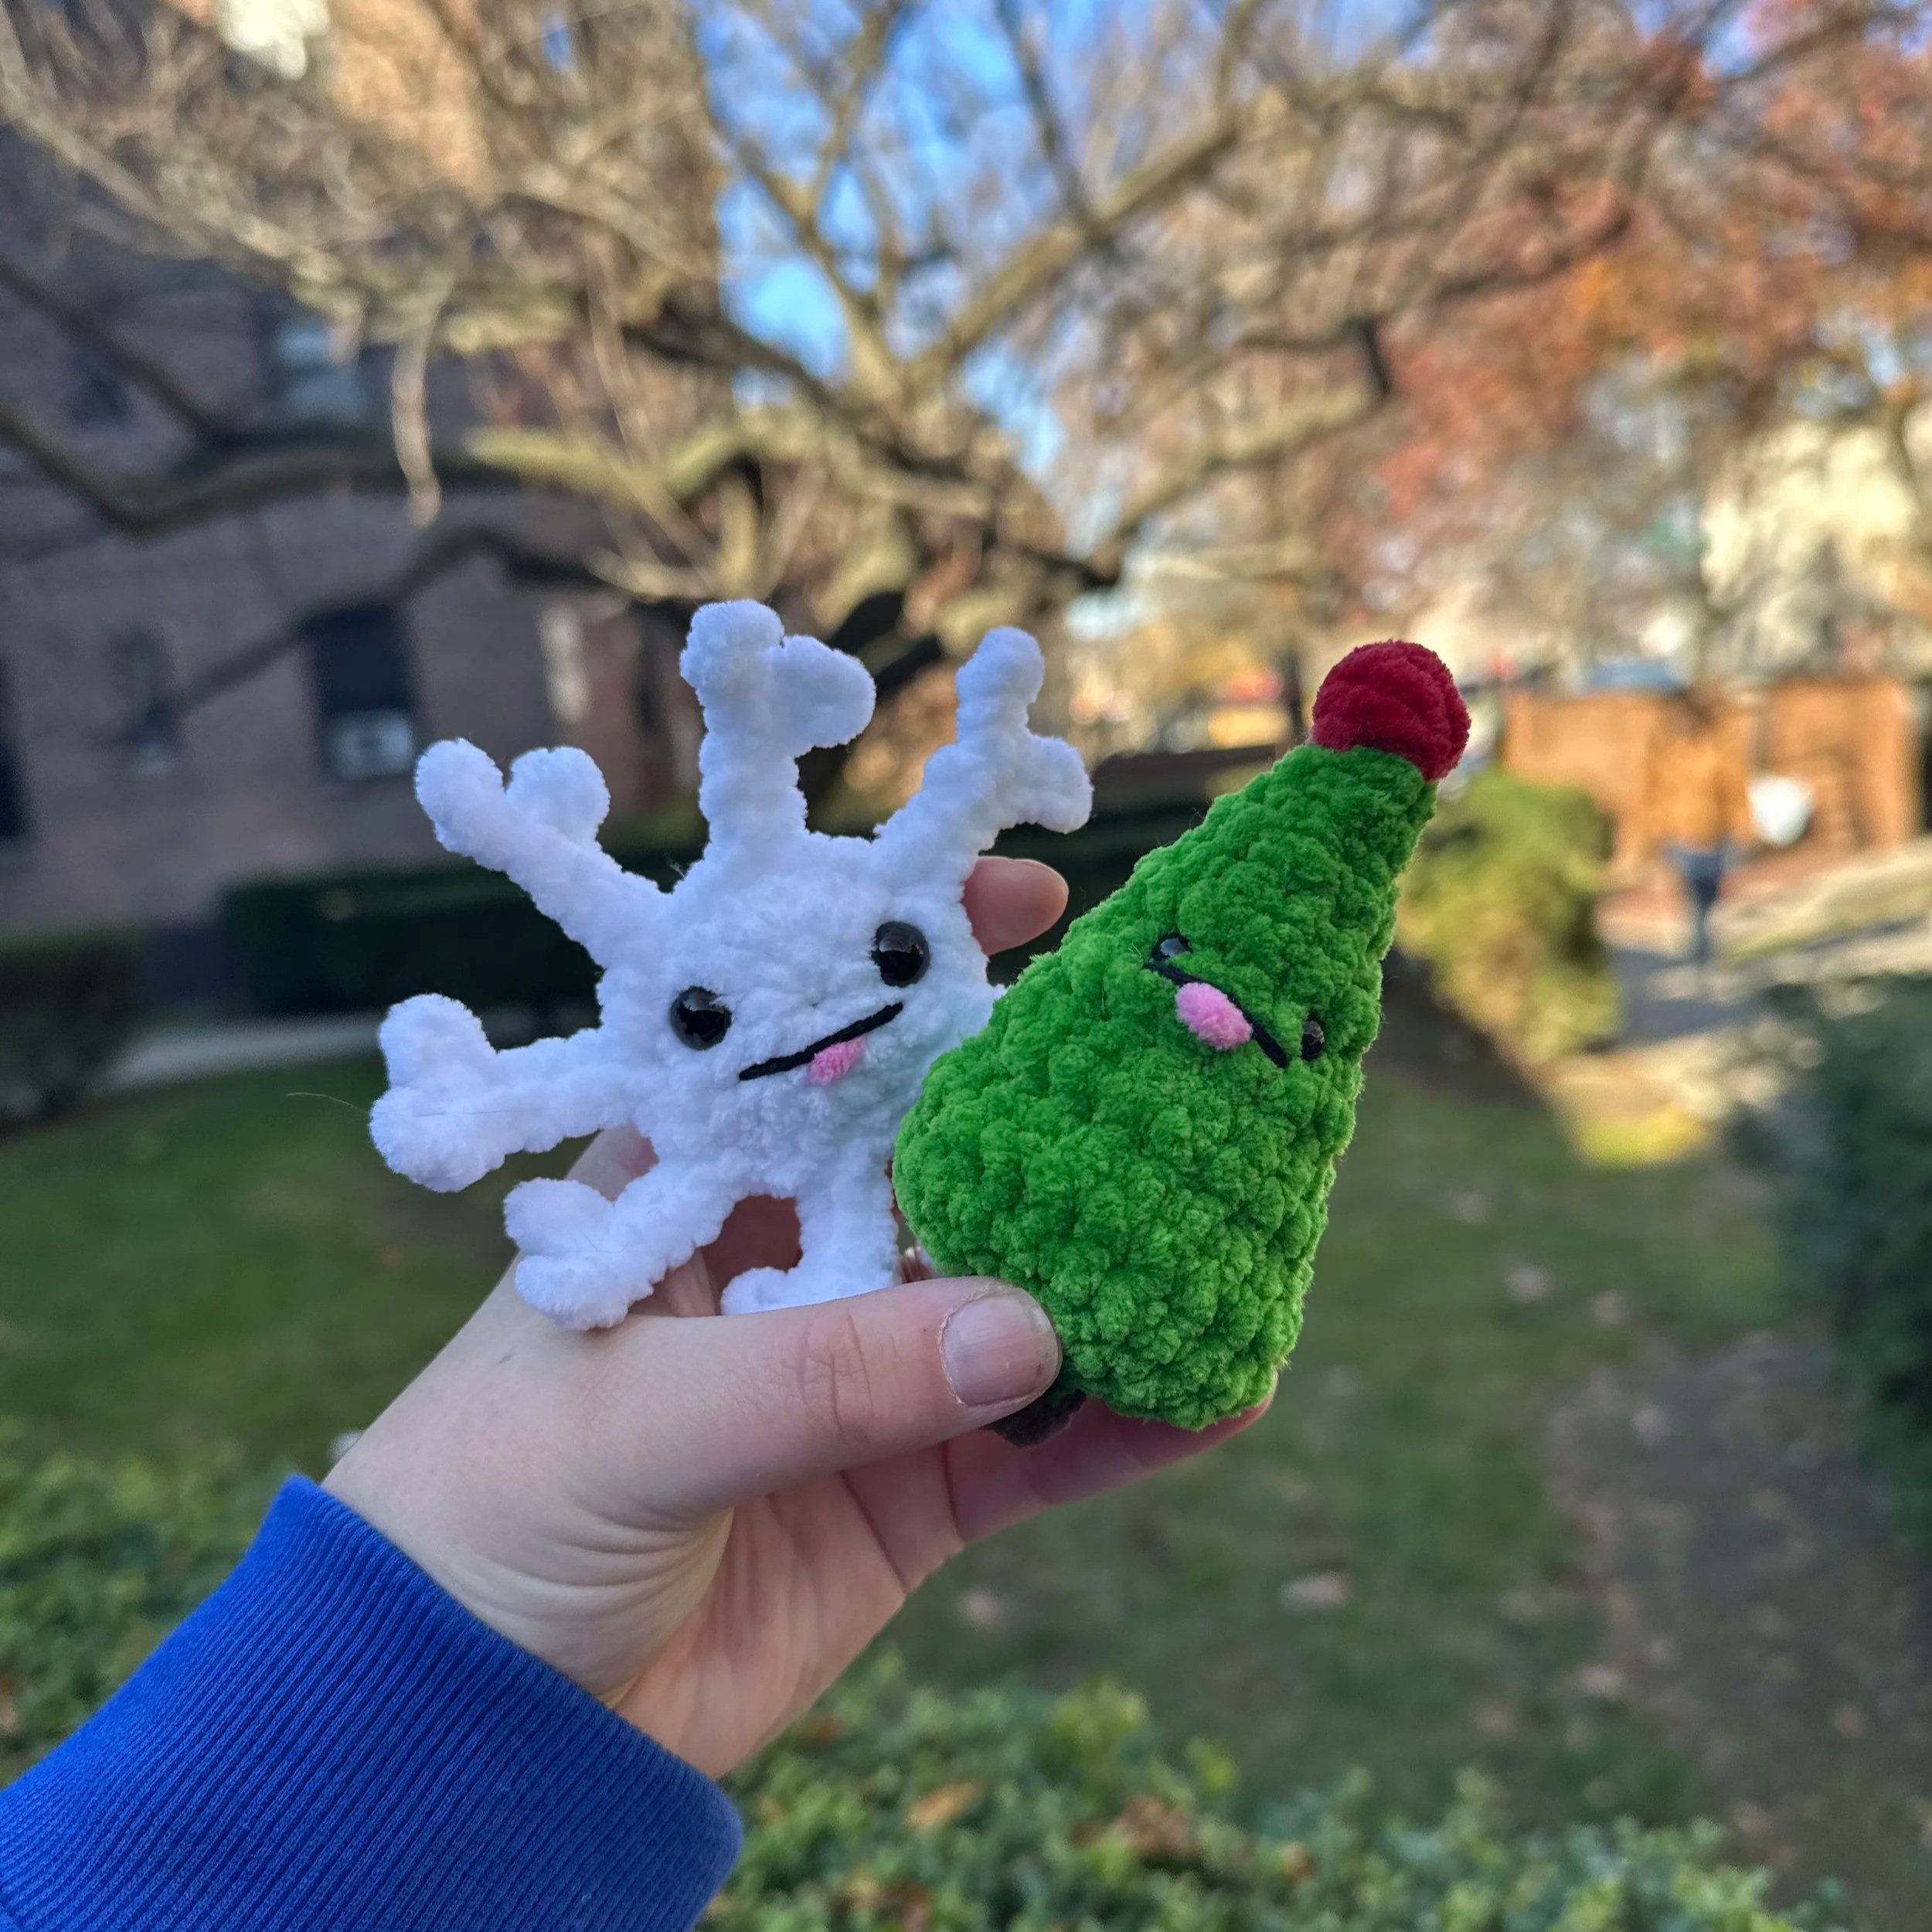
The halfway point of Hooked for the Holidays is not one, but TWO patterns! This is another collaboration pattern, this time with the person who got me into crochet - @asmadebydanielle! These Mini Winter Buddies make perfect bag charms or ornaments. Customize your Christmas Tree with bows, pom poms, or ribbon to make it as festive as possible. Make both the snowflake and Christmas Tree to have your own pair of Mini Winter Buddies!
This pattern is intended for personal use only. Reselling, altering, rewriting, copying, or translating this pattern in any format is strictly prohibited. You may sell the finished product that you’ve made using this pattern, but please give credit back to me for the pattern (@crochetbyapryl). I appreciate your cooperation in this matter.
Want an ad-free PDF of this pattern with more photos? Shop here.
Note: This pattern may contain affiliate links, meaning I get a commission if you decide to make a purchase through my links, at no cost to you
Materials
Crochet hook (I used Clover 5mm)
Yarn in White, Green, Brown, and Yellow
I used Parfait Chunky from Premier
Stitch marker
Stuffing (I used Poly-Fil)
Scissors
Safety Eyes (I used 9mm)
Optional: Materials to decorate your Christmas Tree: ribbon, bows, pom poms, etc
Abbreviations
This pattern is written in US Terms and worked in continuous rounds.
MR - magic ring
sc - single crochet
inc - increase
dec - invisible decrease
cc - color change
sl st - slip stitch
FLO - front loops only
BLO - back loops only
BOB - bobble (5 loops on hook)
FO - fasten off
Let’s Begin!
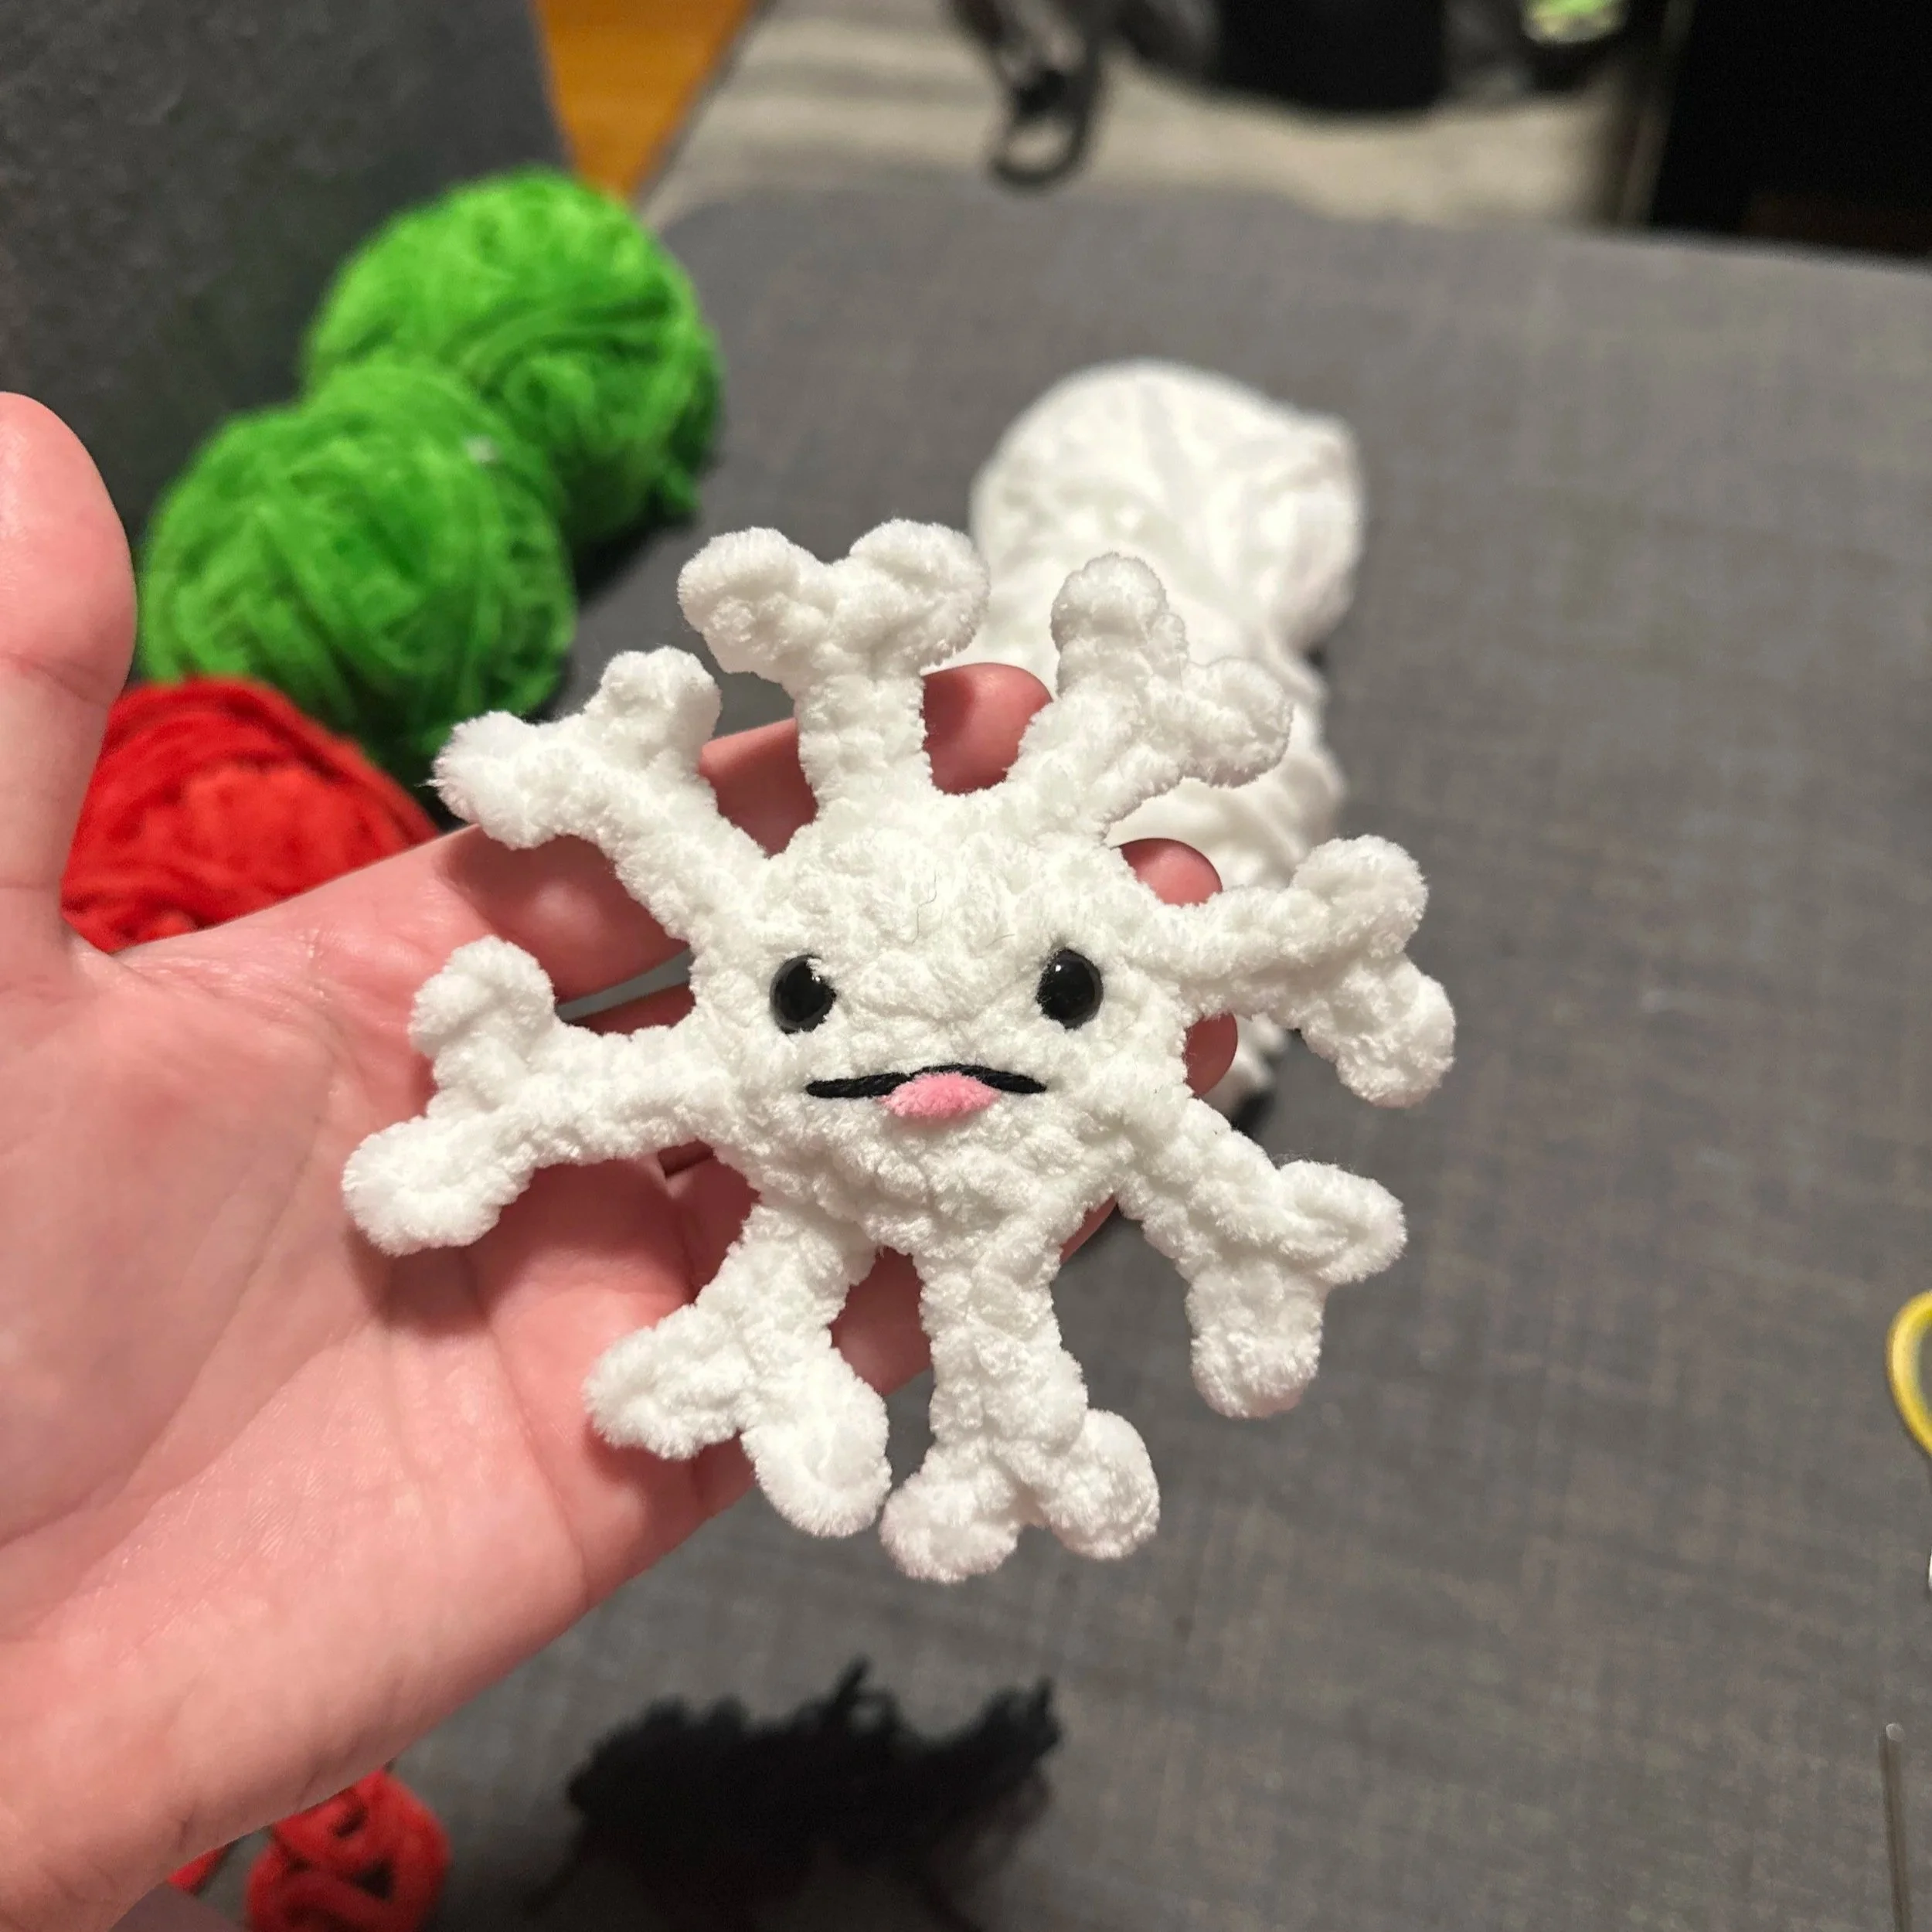
Snowflake
Make in white
R1: 8sc in MR (8)
R2: 8 inc (16)
R3: (1sc, inc) x 8 (24)
R4: FLO (2 sl st, SPOKE, 1 sl st into next stitch) x 8 (24 sl st + 8 spokes)
SPOKE: ch 6, starting in 2nd ch from hook: 2 sl st, ch 3, starting in 2nd ch from hook: 2 sl st, sl st back into original ch, then 3 sl st down the ch
R5: in the unused back loops of R3, (1sc, dec) x 8 (16)
Insert safety eyes on either side of the MR between R1-2.
R6: 8 dec (8)
Stuff lightly. FO and sew remaining hole closed.
To finish, embroider a smile between the eyes.
Your Snowflake is complete!
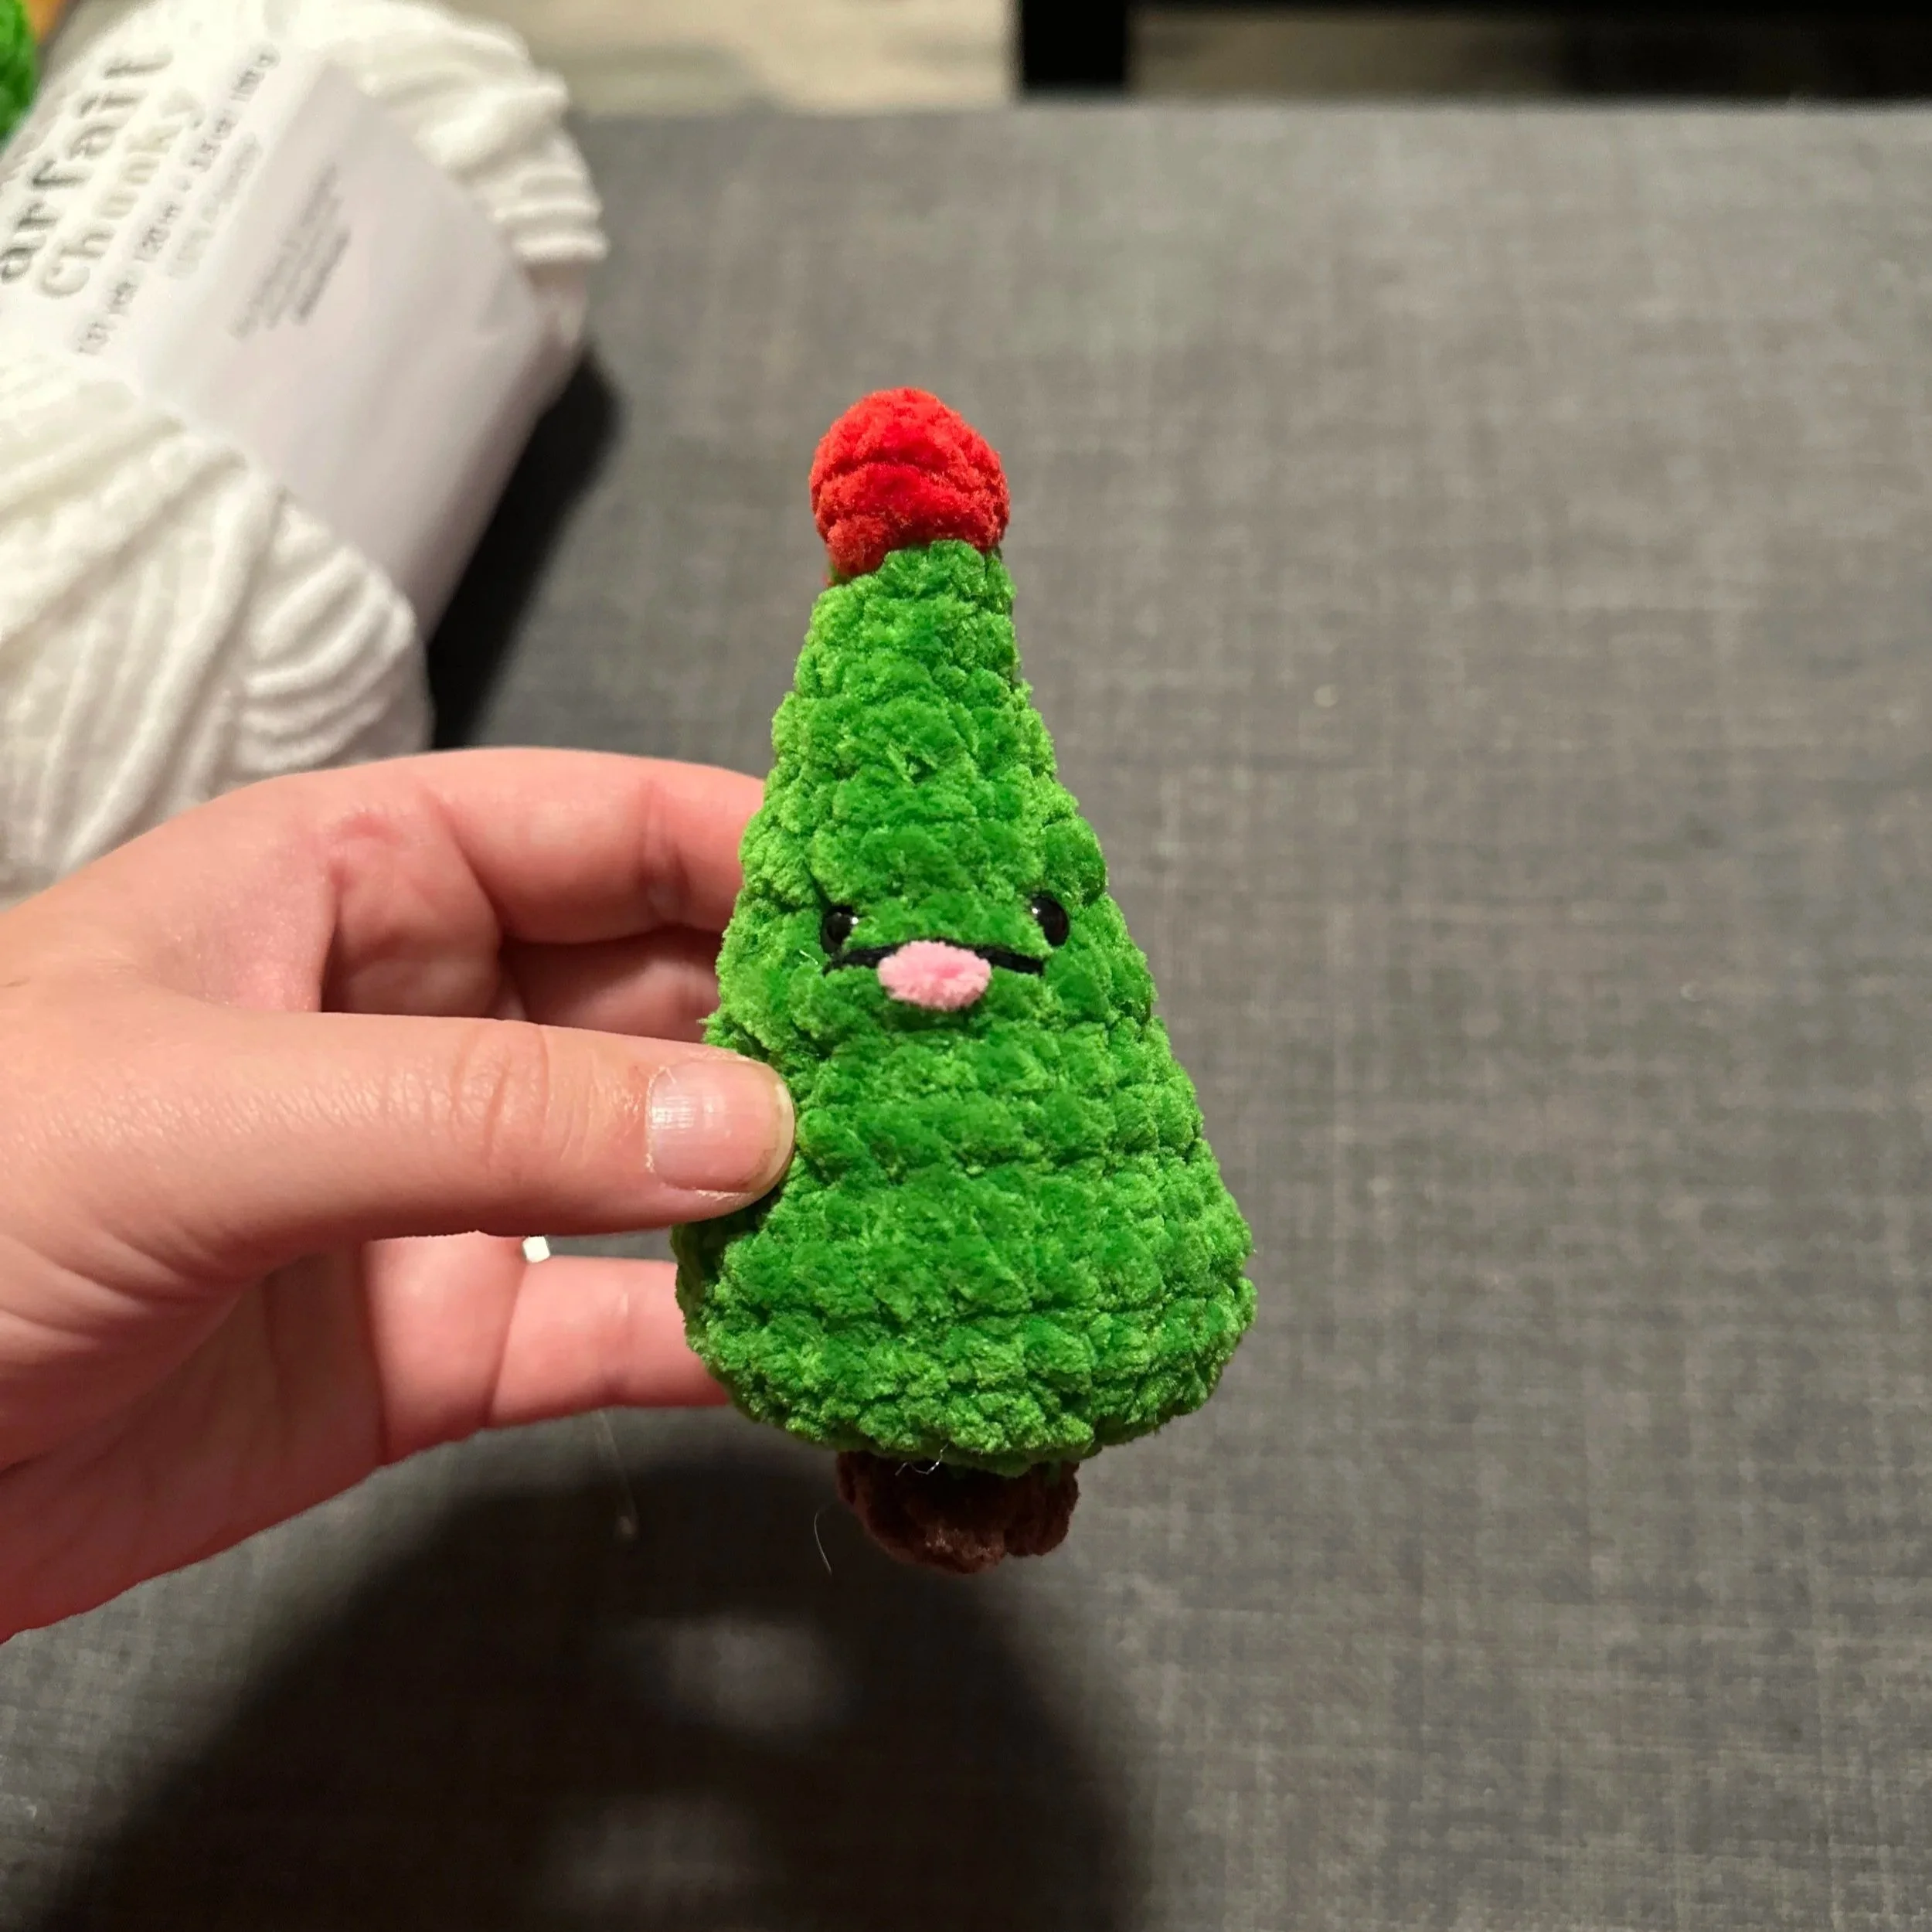
Christmas Tree
Start in green
R1: 4sc in MR (4)
R2: (1sc, inc) x 2 (6)
R3: 6sc (6)
R4: (2sc, inc) x 2 (8)
R5: (1sc, inc) x 4 (12)
R6: FLO 12sc (12)
R7: (3sc, inc) x 3 (15)
R8: FLO 15sc (15)
R9: (4sc, inc) x 3 (18)
R10: FLO 18sc (18)
Insert safety eyes between R7-8, approx 3 stitches apart.
R11: (5sc, inc) x 3 (21)
R12: FLO 21sc (21)
R13: (6sc, inc) x 3 (24)
R14: FLO 24sc (24)
Start stuffing firmly.
R15: (2sc, dec) x 6 (18)
R16: (1sc, dec) x 6 (12)
R17: 6 dec (6)
cc to brown, FO green yarn
R18: BLO 6sc (6)
R19: 6sc (6)
Finish stuffing firmly. FO and sew the remaining hole closed.
Tree Topper & Finishing Touches
Connect yarn color of choice to R1 of tree with a sl st. Make a BOB, the sl st into a stitch next to the BOB. FO and weave in ends to secure the bobble to the tree.
To finish, embroider a smile in between the eyes 1 row down.
Your Christmas Tree is complete!
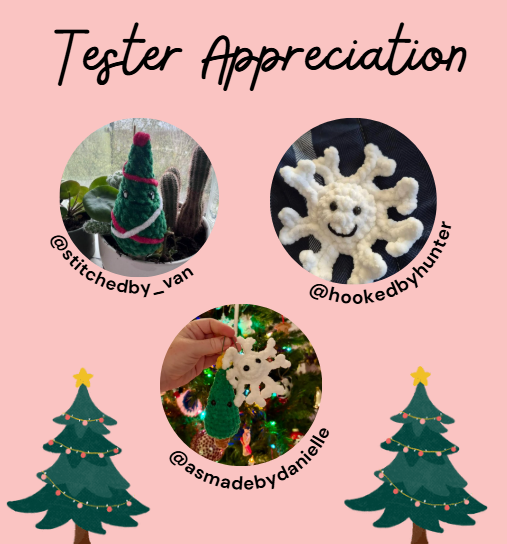
Thank you for your support of our pattern and for making your own Mini Winter Buddies. We would love to see your creations if you share on Instagram - tag us @crochetbyapryl & @asmadebydanielle!
In addition, check out our tester’s work and give them a follow. Come back tomorrow for Day 7 of Hooked for the Holidays!