
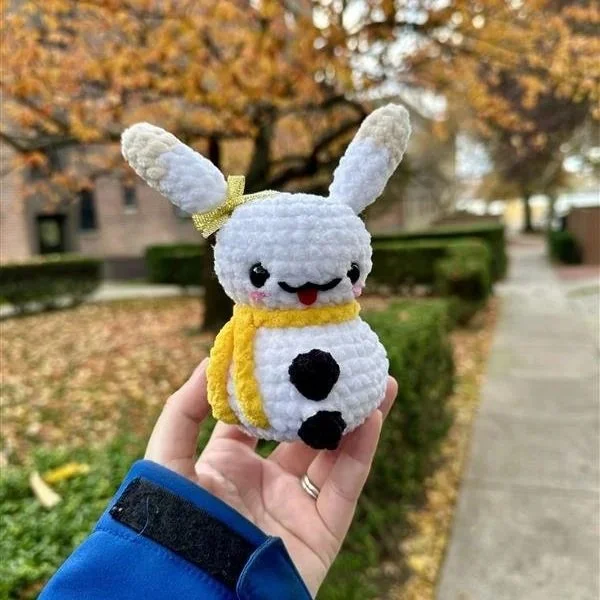
Snowman Pikachu Crochet Pattern
Hooked for the Holidays Day 3
Day 3 of Hooked for the Holidays is this adorable Snowman Pikachu! Perfect for fans of both winter and Pokémon, this pattern guides you through crafting an adorable Pikachu as a snowman using basic crochet stitches. Sized just right for display or gifting, this pattern includes step-by-step instructions, stitch counts, and helpful photos to ensure your project is a success. Ideal for crocheters looking to combine fandom with festive fun.
This pattern is intended for personal use only. Reselling, altering, rewriting, copying, or translating this pattern in any format is strictly prohibited. You may sell the finished product that you’ve made using this pattern, but please give credit back to me for the pattern (@crochetbyapryl). I appreciate your cooperation in this matter.
Want an ad-free PDF of this pattern with more photos? Shop here.
Note: This pattern may contain affiliate links, meaning I get a commission if you decide to make a purchase through my links, at no cost to you
Materials
Crochet hook (I used Clover 5mm)
Yarn in White, Black, Off-White/Cream, Yellow, and Pink
I used Parfait Chunky from Premier
Stitch marker
Stuffing (I used Poly-Fil)
Scissors
Safety Eyes (I used 12mm)
Felt or Black Acrylic Yarn for mouth details
Abbreviations
This pattern is written in US Terms and worked in continuous rounds.
MR - magic ring
sc - single crochet
inc - increase
dec - invisible decrease
cc - color change
sl st - slip stitch
BLO - back loops only
BOB - bobble (5 loops on hook)
FO - fasten off
Let’s Begin!
Snowman Body
Start in white, worked from top to bottom
R1: 8sc in MR (8)
R2: 8 inc (16)
R3: (1sc, inc) x 8 (24)
R4: (2sc, inc) x 8 (32)
R5 - R8: 32 sc (32) (4 rounds)
R9: (2sc, dec) x 8 (24)
R10 - R11: 24 sc (24) (2 rounds)
R12: (1sc, dec) x 8 (16)
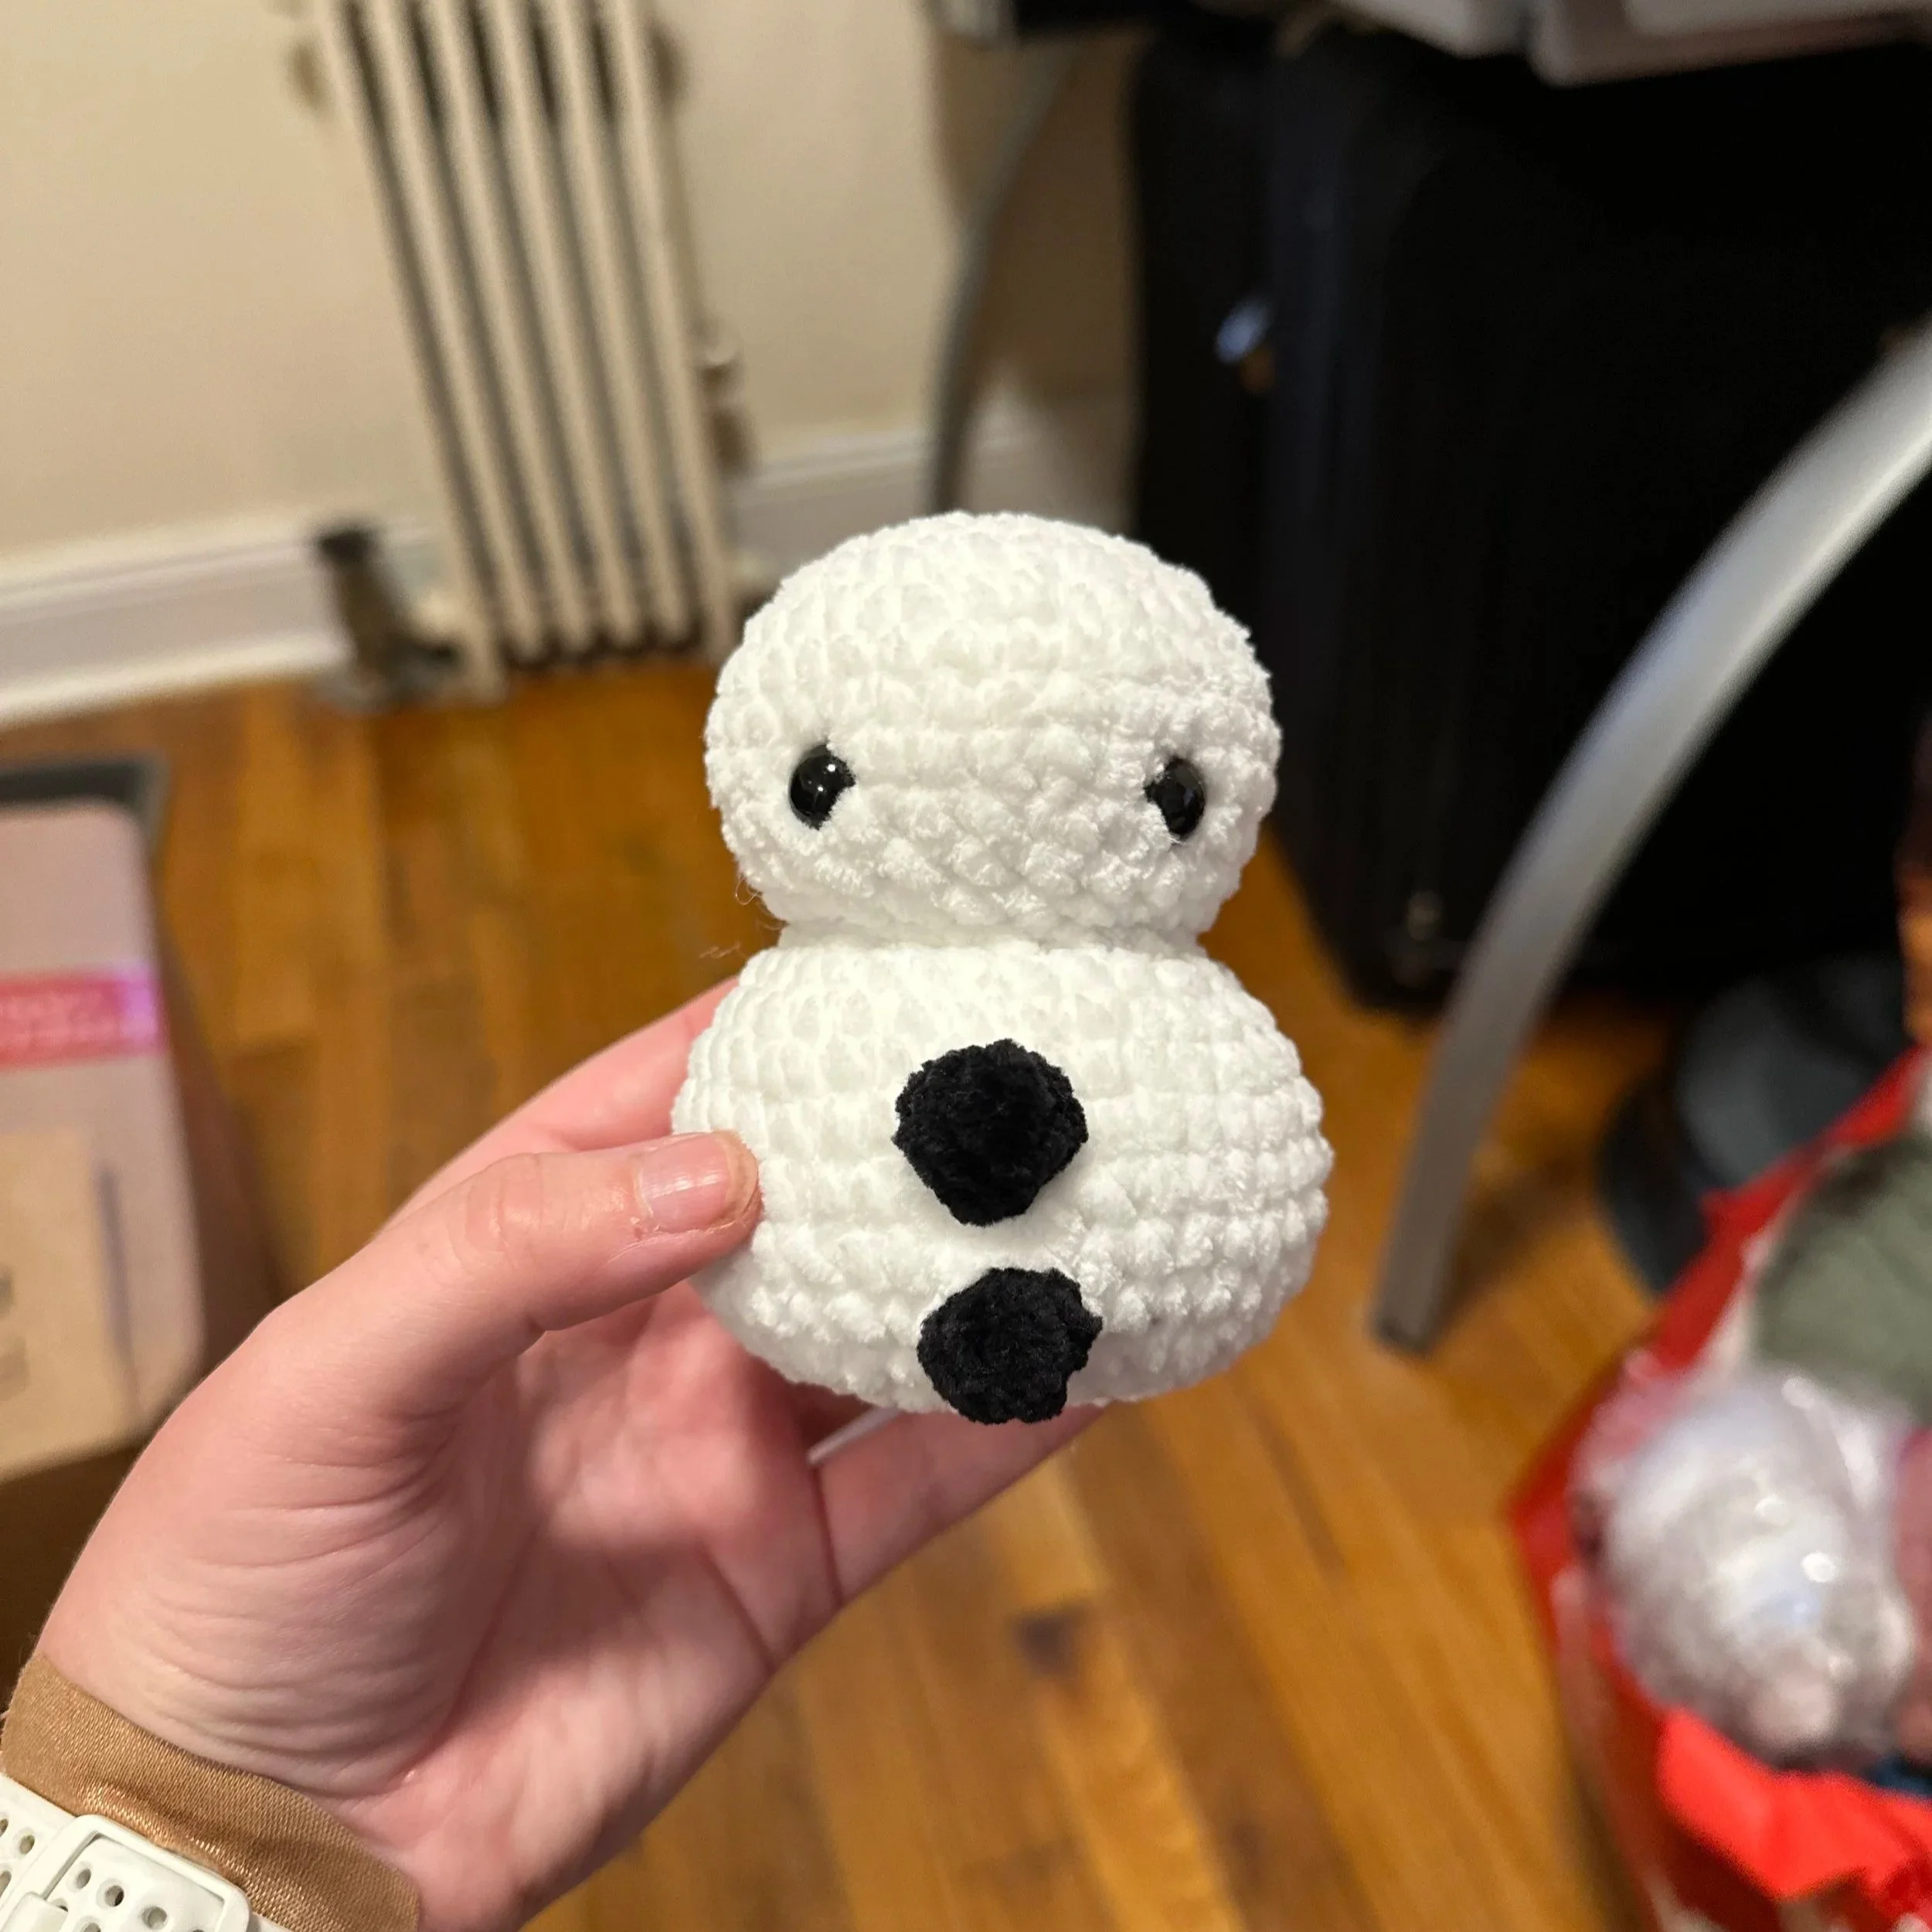
Insert safety eyes between R8-9, approximately 5 stitches apart.
Stuff the top part of the snowman.
R13: FLO (sc, inc) x 8 (24)
R14: (2sc, inc) x 8 (32)
R15 - R16: 32 sc (32) (2 rounds)
R17: (3sc, inc) x 8 (40)
In the next round, make the BOB in Black.
You may need to adjust the BOB stitches to align with the eyes due to tension.
R18: 18sc, BOB, 21sc (40)
R19 - R20: 40 sc (40) (2 rounds)
In the next round, make the BOB in Black.
You may need to adjust the BOB stitch to align with the BOB from R18 due to tension.
R21: 18sc, BOB, 21sc (40)
R22: (2sc, dec) x 10 (30)
R23: 30 sc (30)
R24: (sc, dec) x 10 (20)
R25: 10 dec (10)
FO and sew the remaining hole closed.
Ears (Make 2)
Start in off-white/accent color of choice
R1: 4sc in MR (4)
R2: 4 inc (8)
R3 - R4: 8sc (8) (2 rounds)
cc to white
R5 - R8: 8sc (8) (4 rounds)
R9: 4 dec (4)
R10: 4sc (4)
FO and leave long tail for sewing. Do not stuff.
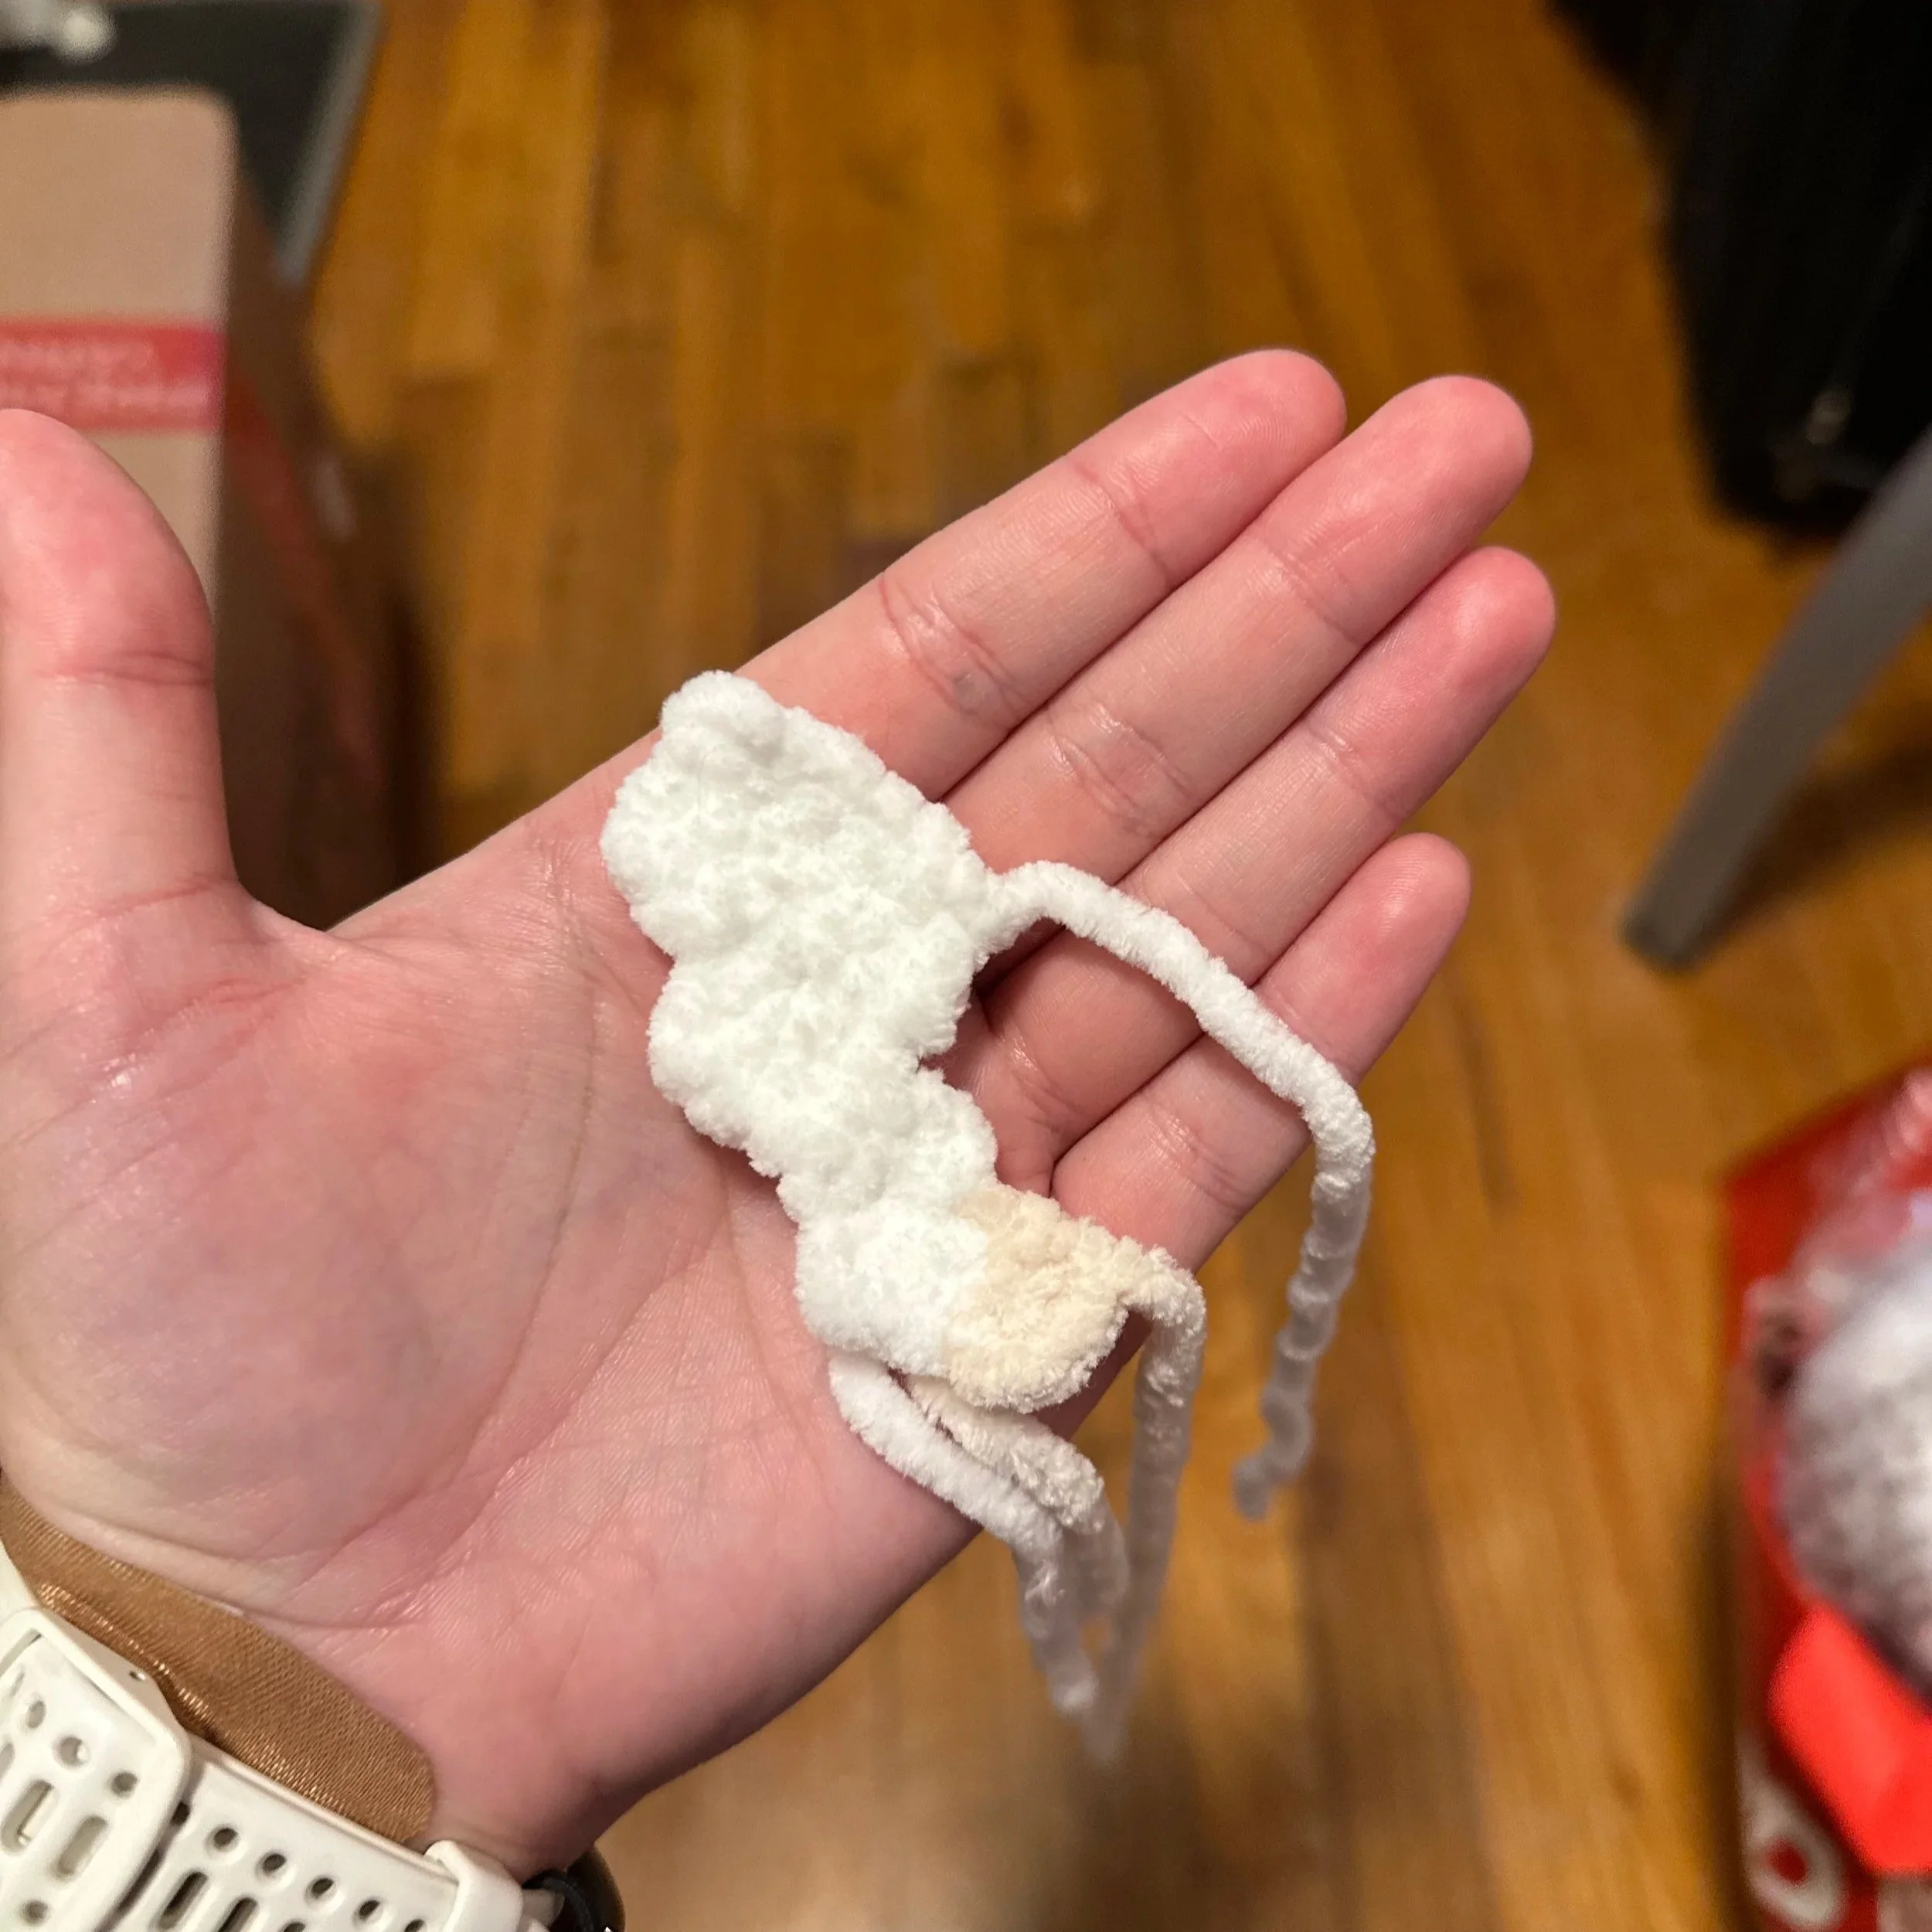
Tail
The tail is worked in rows. The turning ch is included in the total stitch count for the tail.
Start in white.
R1: ch 6
R2: starting in 2nd loop from hook, sc down, ch 1 and turn (6)
R3 - R4: 5sc, ch 1 and turn (6) (2 rows)
R5: 3sc, ch 1 and turn (4)
R6: 3sc, ch 3 and turn (6)
R7: starting in 2nd loop from hook: 3sc, ch 1 and turn (4)
R8: 3sc, ch 1 and turn (4)
R9: 1sc, cc to off-white/accent color 1sc, ch 1 and turn (3)
R10: 2sc, ch 1 and turn (3)
R11: 2sc (2)
FO and leave tail for sewing. When cutting white yarn, leave tail to use for sewing.

Assembly & Scarf
Sew ears to the top of the snowman, approximately 10 stitches apart, around R3.
Sew tail onto the back on the bottom part of the snowman, use tails to sew down so it doesn’t flop over. Sew bottom part of tail starting around R19.
For the scarf, use your color of choice. Ch 37, or however long you’d like your scarf to be. FO and then tie the scarf around the snowman’s neck, making sure to thread in between the tail and the body.
Use felt or embroidery to create a mouth and tongue between the eyes 1 round below the eyes.
Your Snowman Pikachu is complete!
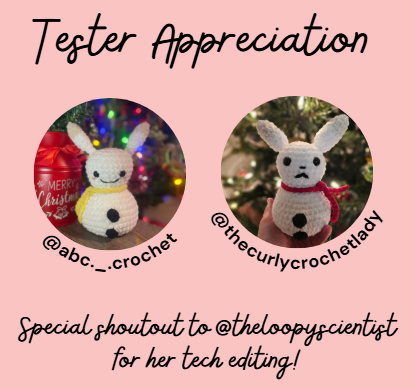
Thank you for your support of my pattern and for making your own Snowman Pikachu. We would love to see your creations if you share on Instagram - tag me @crochetbyapryl! In addition, check out my tester’s work and give them a follow.
Come back tomorrow for Day 4 of Hooked for the Holidays!